
Making beautiful DIY Vintage Christmas Postage Stamps has never been easier! Learn how to make them using one special tool and how to add subtle gold touches to really bring the details to life!

Can I just start by saying that my last round of postage stamps (check them here) were a complete success? There, I've said it! :) I was overwhelmed by all the emails and the lovely messages that I received and I'm really happy when I get such an amazing feedback from people trying my projects from all over the world! It's a great feeling knowing your projects touch so many people, no matter when they are on their creative journey! 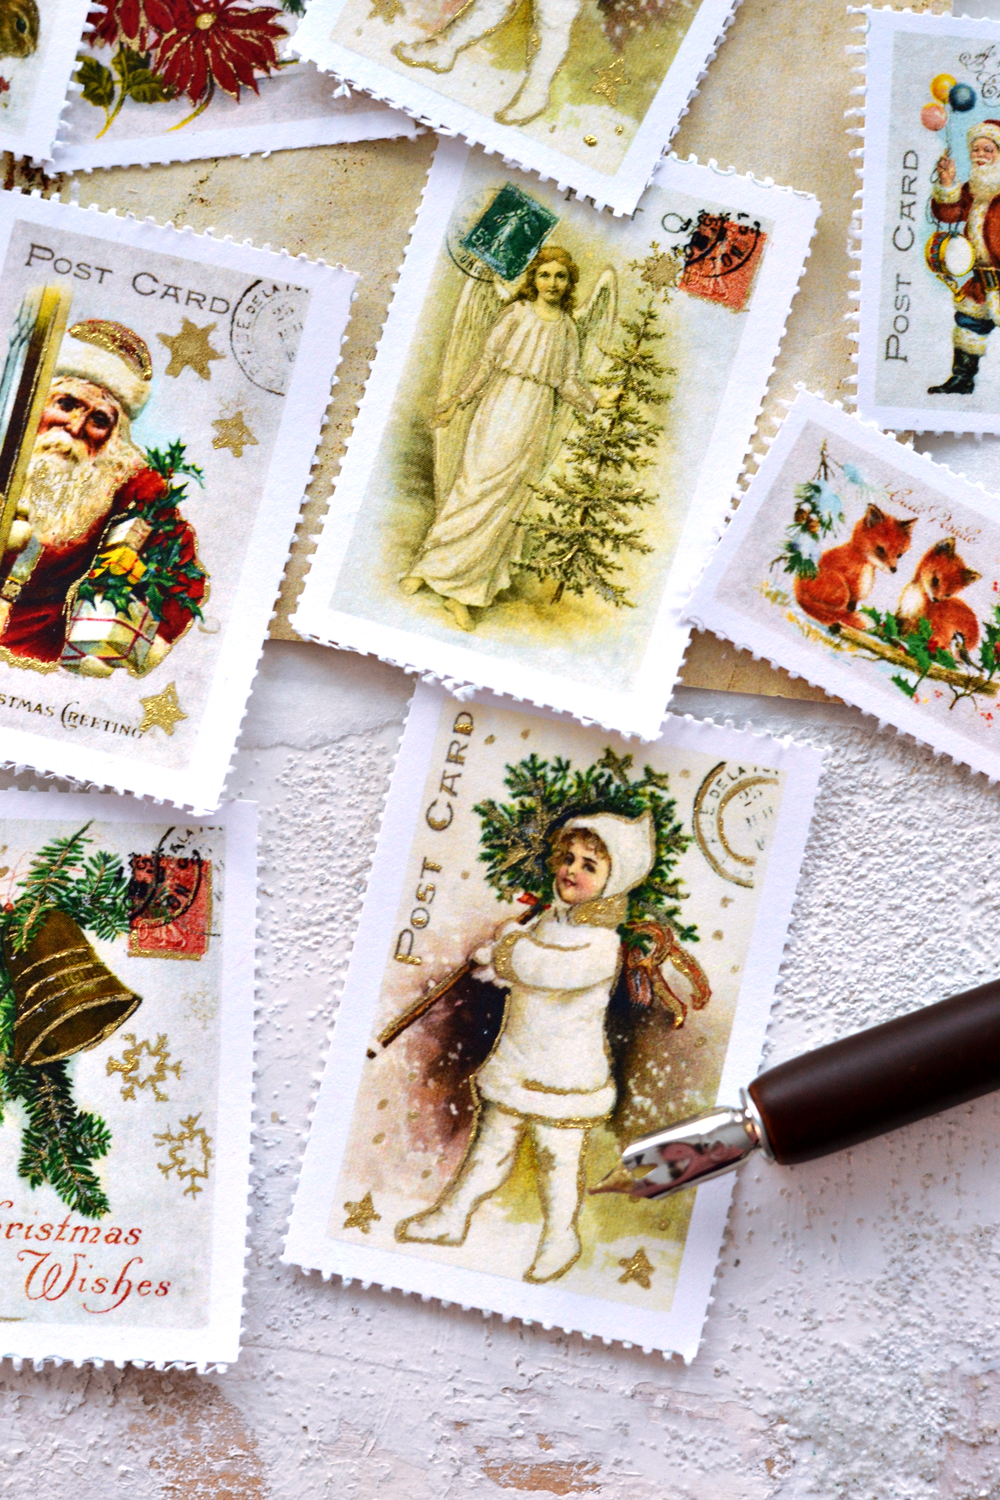
DIY Vintage Christmas Postage Stamps
So today I have another round of postage stamps for you, this time with a more classic Christmas oriented theme that I'm hoping will bring a little bit of joy into your life! :)
And because I really loved the more authentic feel of postage stamps created with the thinning scissors, I only used this tool today to create that specific perforated edge. You can use the other tools that I shared last time, some will get a more decorative overall look, feel free to use whatever you want!

There are a few things you need to consider when making the postage stamps, make sure you head over to the Graphics Fairy to check the steps I'm sharing there.
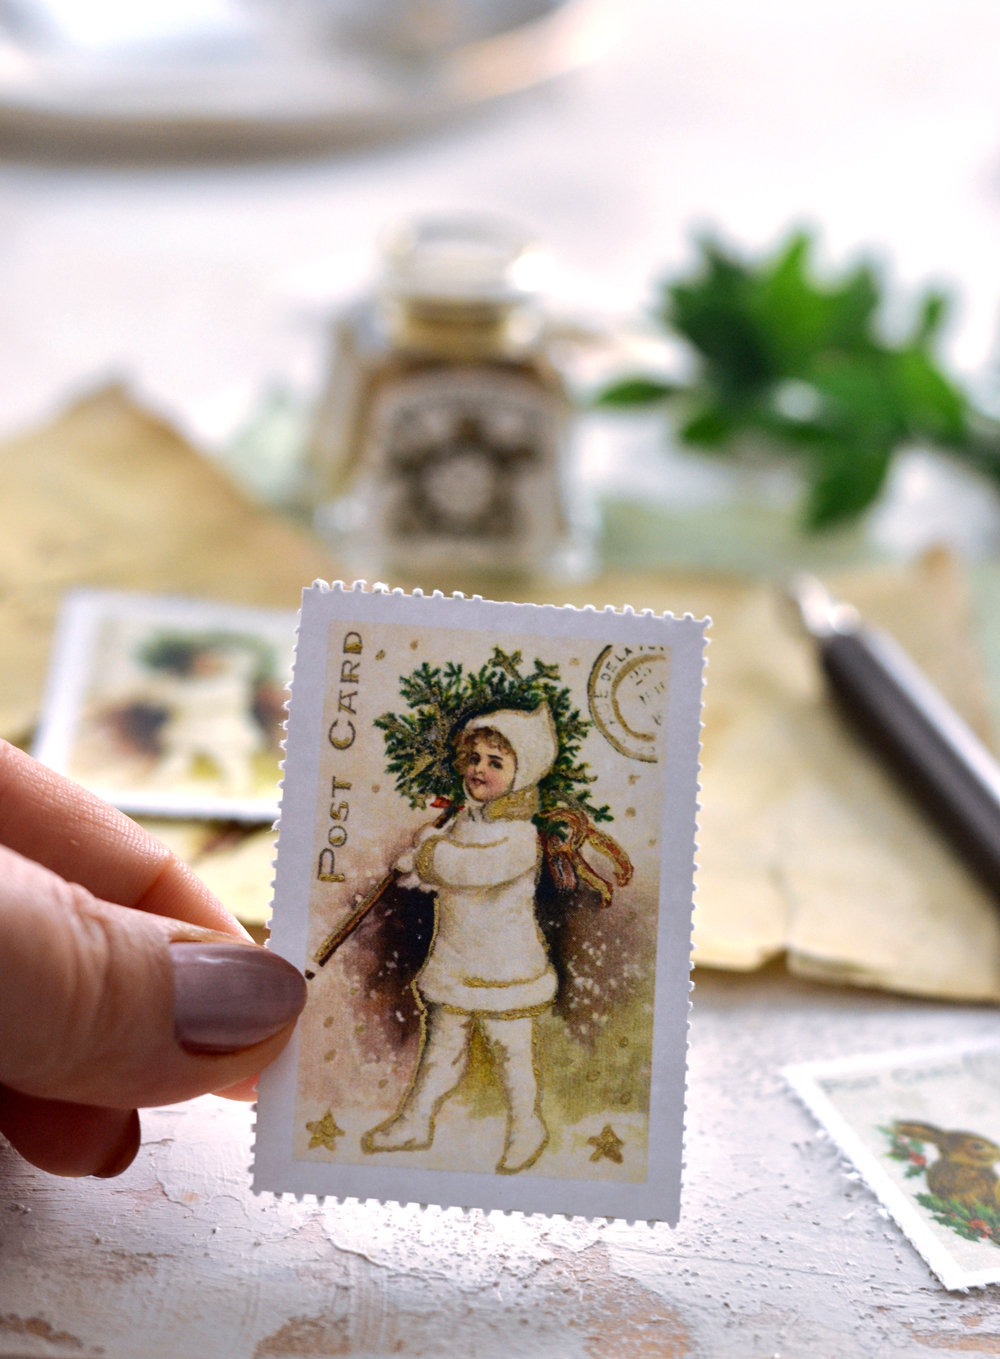
The faux postage stamps come in 3 different sizes so you can have fun and experiment with different objects that need a little bit of TLC, Christmas presents, decorative items all around your home, the sky is the limit!
You could write letters or postcards and decorate them with my faux DIY Vintage Christmas Postage Stamps, then include them in your Christmas gifts! There is something unique and heartfelt about a handwritten note that can touch a person on such a deep level, especially in this (almost too) digitized era we are living these days, don't you think?

♦ Another DIY project that you can try: DIY 5 Minute Christmas Candles
The postage stamps are beautiful on their own, but if you really want to add some personal touches to them, try adding a little bit of gold! I love adding subtle gilded accents here and there and this time I used some gold ink and a calligraphy pen to do that.

It was my first time using this type of gold ink and I really loved it! Of course you can use silver, copper or any other metallic paints, inks, pens, markers, nail polish.
♦ Another DIY project that you can try: Free Vintage Christmas Postcards


SHOP THIS POST ♥
regular white paper OR cardstock paper OR white sticker paper | laserjet printer (I have this laserjet printer) | regular scissors | thinning shears | calligraphy set | gold ink
I gifted myself this beautiful calligraphy set a while back (from Amazon.de), but never got a chance to use it until now. I really really REALLY love it! :)


Have fun creating the DIY Vintage Christmas Postage Stamps!
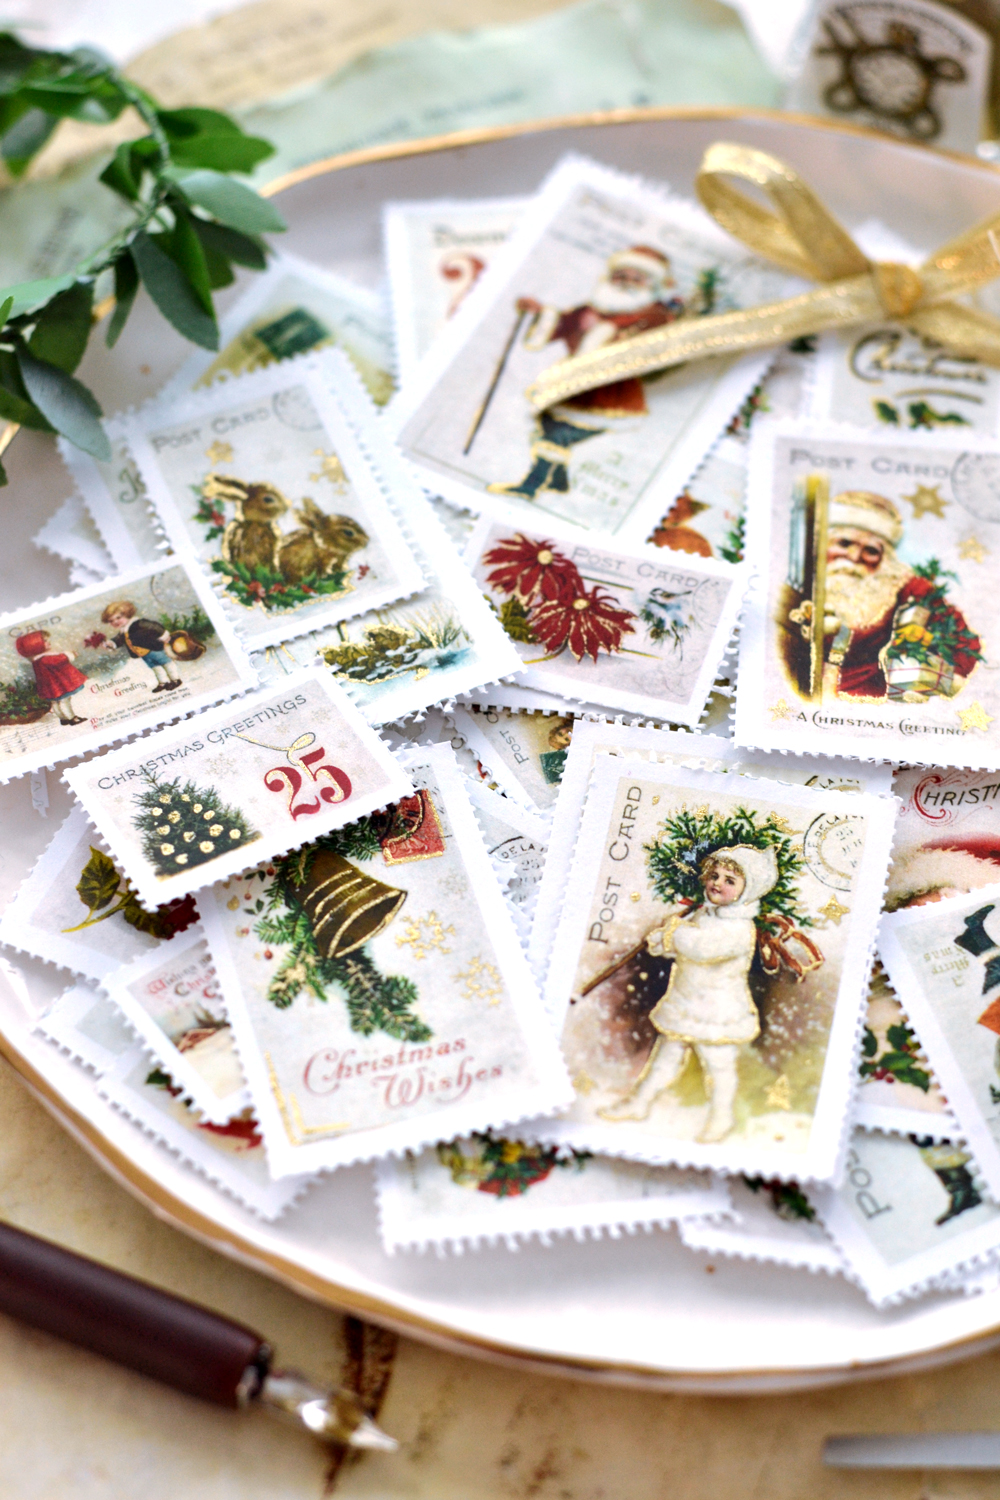
The lovey free printable that I created for this project is made again using images from The Graphics Fairy. I used some amazing Christmas-y images and my DIY Vintage Christmas Postage Stamps are ready to accompany you in all your holiday inspired creative projects! :)
*****
Click HERE to learn how to make the DIY Vintage Christmas Postage Stamp and download the free printable!
Don't forget to smile,
Diana
~~~~~~~
This post might contain affiliate links so you can easily find the products I love.
See more of my favorites {HERE}.
~~~~~~~
AMAZON SHOP ♥
Now you can also check my new Amazon storefront –>click here
for more DIY, home decor & kitchen essentials, healthy stuff and more shopping ideas,
Dreams Factory’s style!
~~~~~~~~~~~~~~~~~~~~~~~~~~~~
Jennifer Farnes
Thank you so much! I am looking forward to using these for so many things! Thank you for your generous kindness. Happy Holidays!
Diana / Dreams Factory
Happy you like them, Jennifer! Hope you will find them millions of uses! :)
Happy Holidays!