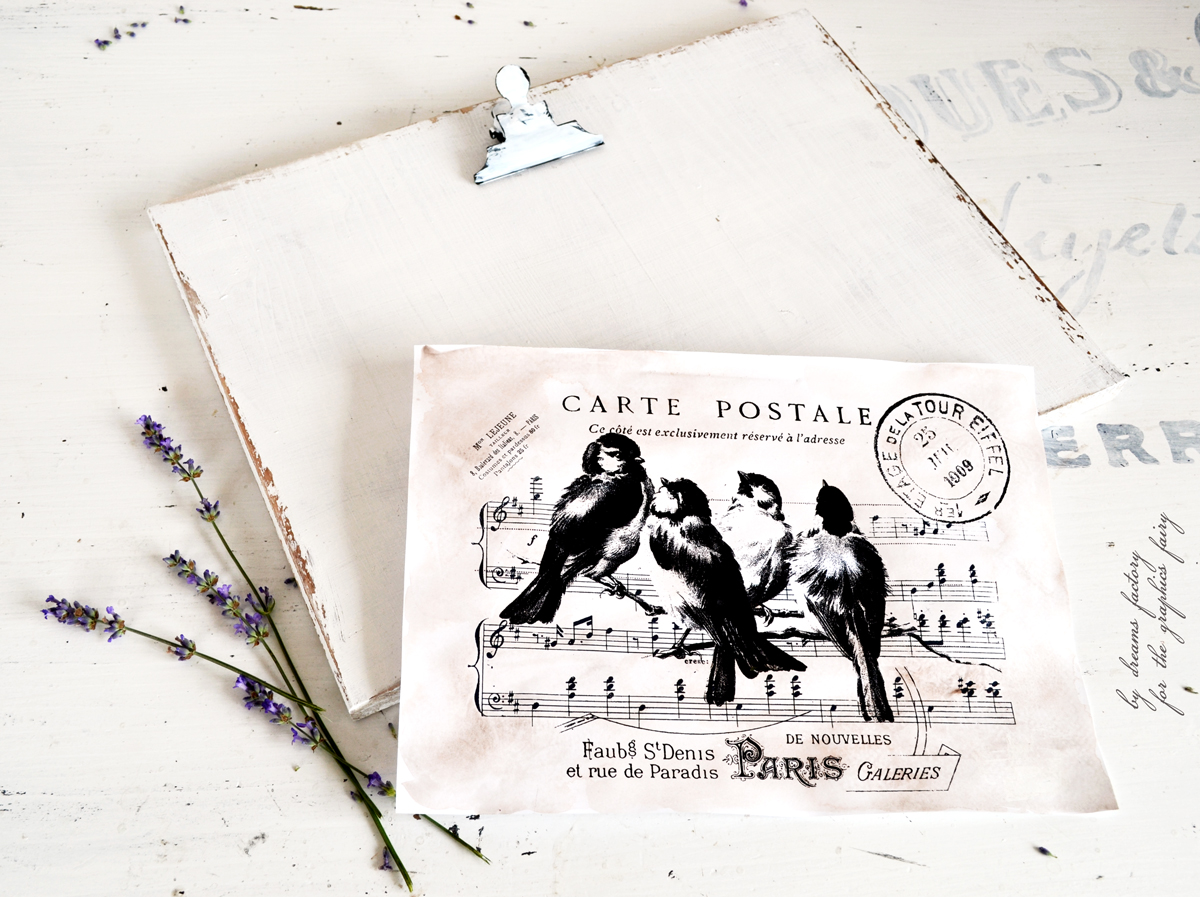
Ready for a new simple but super chic project? I hope you are, because I have a real treat for you today!
It’s a DIY painted and distressed clipboard frame that would be perfect for easily displaying your favorite graphics all around your home! And to make things easier for you, I’m sharing a beautiful French postcard with lovely birds, stamps and music notes, that looks like coming directly from an ancient Paris! And speaking of ancient, I also have a super quick and easy method of aging paper, so just keep on reading! :) This project is included in the series that I created for The Graphics Fairy. Need I say again how excited and happy I am about our collaboration? :) It’s like a dream come true, Karen’s site has always been my number one place for finding beautiful graphics. That place is like a fairy land indeed, I’m always inspired when perusing through such an amazing collection of vintage beauties.
 But before heading over to her site to see all the steps, let me tell you a little bit more about my idea of creating a DIY painted and distressed clipboard frame.
I’ve been wanting to make something like this for ages, because I love graphics and I thought this would be a great decorative piece that I could easily use in our home. I initially saw on Pinterest some vintage clipboards with big chunky metal clips but I couldn’t find anywhere in my country something similar. I mean ANYWHERE! For those of you who don’t know, I live in Romania (Europe) and I have this problem quite often here. Not being able to find THAT specific items that would add character to a simple project, it’s quite frustrating, I’m telling you. So my project only remained at the ‘DIY to try someday’ stage for a loooong time. But then I discovered an interesting online shop called Design & After (love that name, by the way) and I found the most adorable metal clips! I immediately ordered them online (along with other goodies that I NEEDED to have) and created this simple but super chic DIY painted and distressed clipboard frame. With this project I wanted everyone to be able to make the DIY painted and distressed clipboard frame as a statement decorative piece for their home, one that is highly adaptable, versatile and functional, so I choose a size fitted for all needs. And for all printers at home! :) Because I also wanted everyone to be able to print the French postcard (or other favorite graphics) at their printer at home in no time!
To give the paper a more worn, aged look, I used a simple ‘ingredient’ … and a lot of water.

I’m extremely happy about how the DIY painted and distressed clipboard frame turned out, I’m really hoping you will give it a try!

So head over to The Graphics Fairy now and make this project for your home!
I’ll show you how to:
– paint and distress a wooden board using two contrasting colors and candle wax
– distress the free printable using a quick and easy method of aging paper


Don’t forget to smile,
Diana
If you make some projects inspired by my posts, don’t forget to link back to my blog. Use the hashtag #bydreamsfactory or tag me using @bydreamsfactory on Instagram. Have fun! :)
Disclosure: This post might contain affiliate links so you can easily find the products I love.
See more of my favorites HERE.
Sharing with lovely people at these awesome parties.

Carol ("Mimi")
Very pretty. The painted and distressed clipboard could be used to display so many different things: photos, printables, etc.
Diana
I’m in love with this project, Diana! Thanks so much for sharing it with us all at Vintage Charm :)
Kerryanne at Shabby Art Boutique
Such a gorgeous project sweet Diana. Thank you for sharing it at Create, Bake, Grow and Gather this week. I’m delighted to be featuring it at tonight’s party and I’ve pinned it to the party board too!
Hugs Kerryanne xx