
Hello, my dreamy friends, so nice to see you again after this short blogging break. Two - three weeks still count as a short period of time, right? :) With all the frenzies going on in our everyday lives, it seems like time is constantly toying with us and making things harder and harder to keep up with. So my break was not really a break-break, because I'm actually working behind the scenes on one million things. Implementing the new language plugin on the blog is one of them, there will be two different interfaces (for English and Romanian), so that you, my amazing reader (yes, you) have the best experience on my blog. It's taking much more time that I would have ever imagined going through all those old posts. I'm not sure if I will manage to finish sometime in this life... but one can only hope :)
So March is already here and Easter is just around the corner, huh? :) Let's get busy and transform some ugly old trays into amazing French trays with changeable signs so you can impress all your guests for the upcoming holidays! Of course there will be some painting and distressing involved. And some amazing French inserts for our trays. Inserts that I'm just calling signs ... because you will also be able to use them as French signs! 
Disclosure: *This post contains affiliate links so you can easily find the products I love. See more of my favorites {HERE}.
But first, before we get all technical, how about some music? I love listening to my favorite tunes while working and I just HAD to share with you my latest (re)discovery - Madeleine Peyroux. I have been totally obsessed with her songs and have been listening to her almost non stop for the last couple of weeks! So check my playlist on YouTube and click play all if you feel like unwinding while moving forward and reading this! :)
DIY FRENCH TRAYS WITH CHANGEABLE SIGNS
To make your own French trays with changeable signs (inserts) you'll need some trays, of course :) You can use new trays, but you can also use old trays - I decided to use this old and ugly set that I had for a while on my to do list.

You will also need some MDF boards cut to the size of the inside of each tray. Mr Dreamy did this part for me, so if you are not really into power tools, ask someone to do that for you, too. Make sure you measure the inside of the trays really well so you'll have a perfect match with minimal efforts. And check twice to see if you can easily insert each MDF board into each tray, so you can remove them whenever you want.


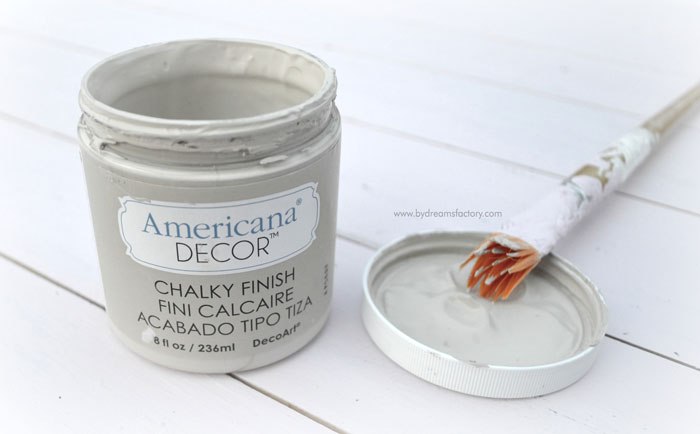
For the painting part I used Deco Art Americana Chalky Finish Paint (Primitive color), both for the signs and the trays, but you can also use acrylic paint or milk paint. It was my first time using chalk paint (because you cannot find anything in this part of the world) and I really loved it! Please excuse my ugly brush, but I'm a regular painter :)
So the first thing I did? I painted the MDF boards / signs / inserts.

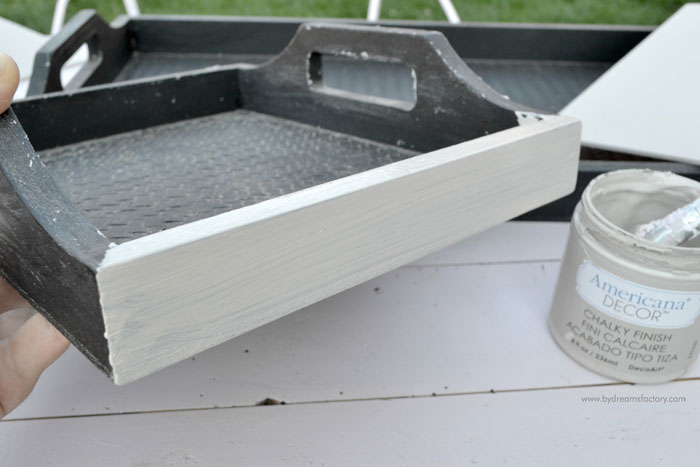
While the signs were drying, I moved onto painting the trays. And you know that I always love a good painting & distressing and that I usually use two contrasting colors to get a chippy and worn look. But because the trays were already black, I skipped the first layer of dark paint part and just rubbed some candle wax on the edges of the trays. The candle wax will help with the distressing afterwards, I'm sure you already know that from my other DIY projects that involve painting and distressing.

I applied two coats of chalk paint, you can see below a few pictures from different stages of the painting process.

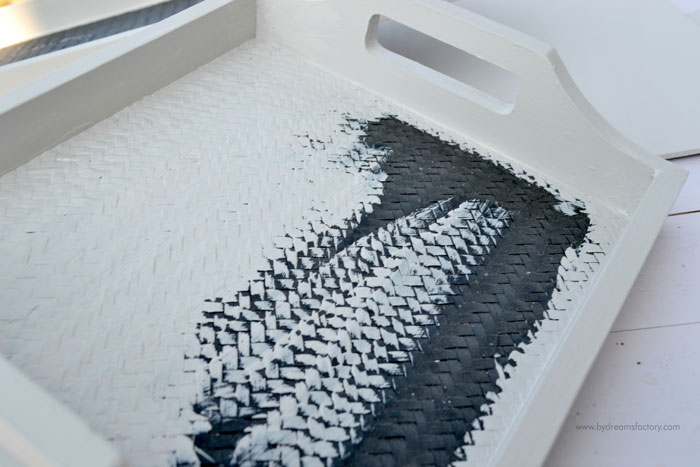
After I painted all the trays (I intentionally omitted the inside of the bigger tray, because I wanted to save as much paint as I could) I let them all dry and moved (again) to the signs.

The Graphics Fairy was my choice for picking some amazing French graphics (she always is) and waterslide decals paper were my choice for transferring the images (they always are). I really love how simple is everything when using decals!
You just print the graphics you want on the decals ...

You cut the images close to the borders and just apply them with water! It cannot get much easier! For more details make sure you check all about waterslide decal paper transfers.

TIPS: If you used chalk paint to paint the signs, make sure you add plenty of water before applying the decals on the painted surface of the signs, chalk paint is a little bit dry and your decals might wrinkle when in contact with this type of surface. But if you used acrylic paint or milk paint to paint the signs, just apply the decals like you normally would, without adding the additional water to the painted surface.

You can let the signs dry a little bit and then apply some sealer to protect both the decals and the painted surfaces. I used the Deco Art Varnish - Ultra Matte for this.
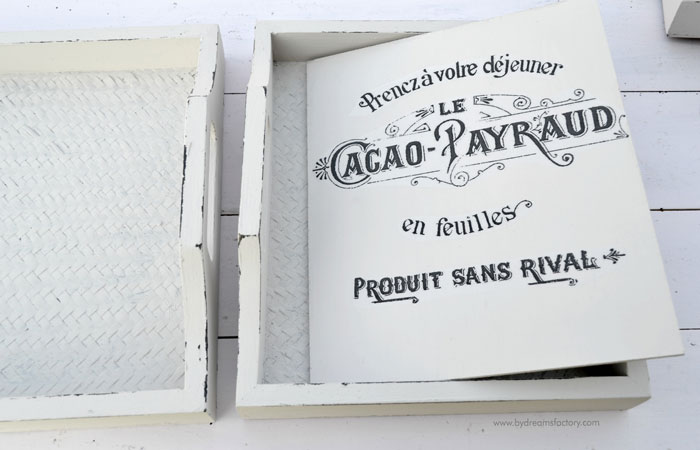
Here they are, the changeable French signs / beautiful inserts for our trays :) Don't you just loveeeeeeeee them? :)
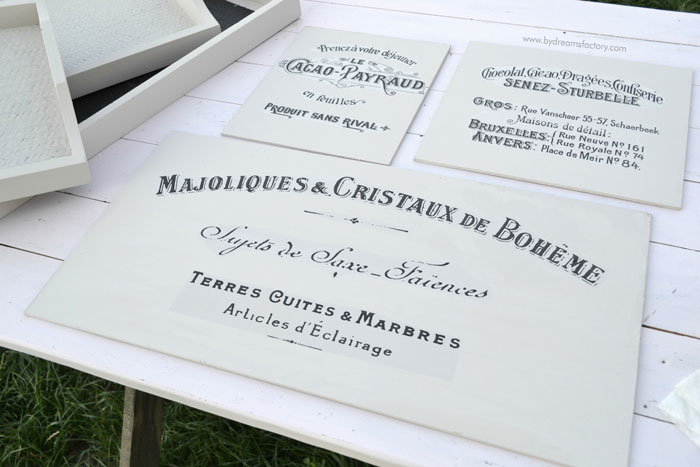
And just in case you are wondering, yes, that is grass that you see in the picture above because I worked and painted the trays outside ... last summer, on a beautiful sunny day! Talking about falling behind ... :)
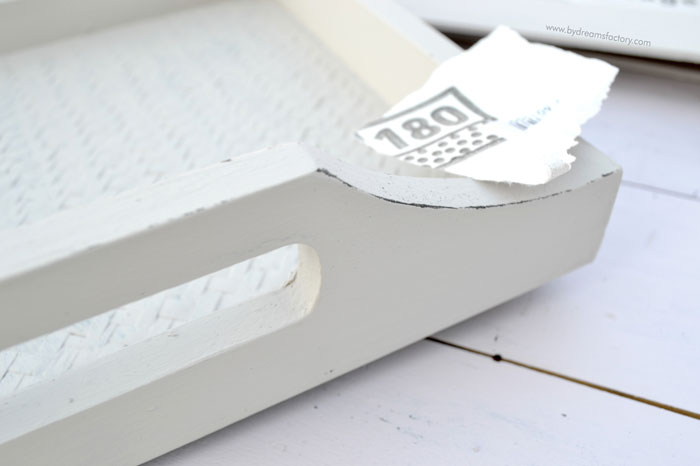
Distress the trays with a 180 grit sandpaper, remove the sanding residues and use again the Deco Art Varnish - Ultra Matte (or whatever you have around).

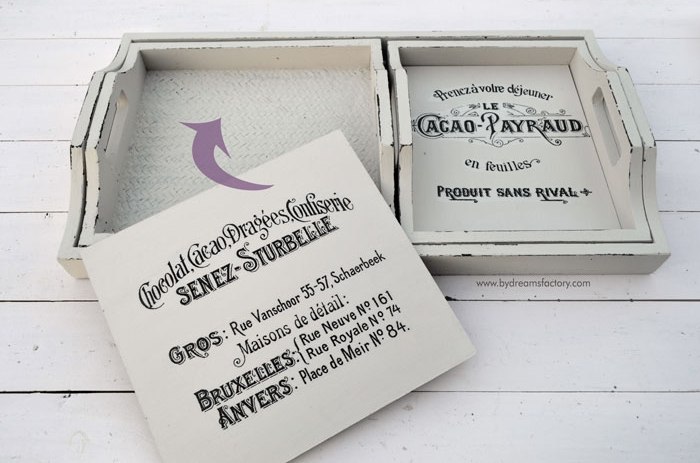
Slide those French cuties right in ...
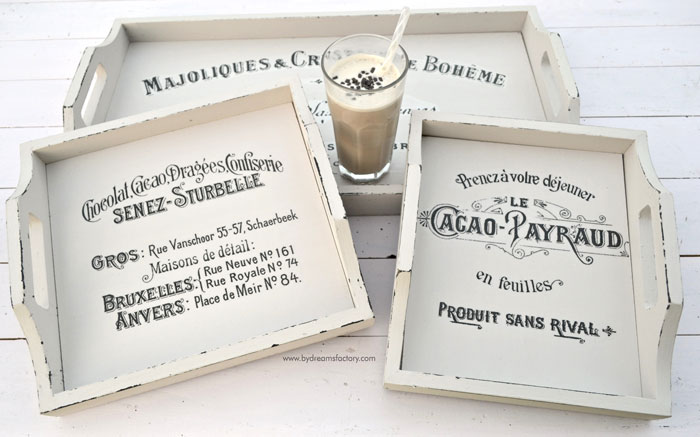
... and enjoy your favorite coconut oil coffee sprinkled with dark chocolate in your new French trays with changeable signs! :)
I hope my DIY French trays with changeable signs project will inspire you and you'll decide to transform all your old and ugly trays, just in time for Easter! :) Would love to see your creations, make sure you leave a comment below with a link or tag me on Instagram using #bydreamsfactory.
Don't forget to smile,
Diana
Sharing with lovely people at these awesome parties.

Disclosure: *This post contains affiliate links so you can easily find the products I love. See more of my favorites {HERE}.
Kim
I love these! Can't wait to make them!!! Thank you for sharing!
Diana / Dreams Factory
Thank you, Kim! Can't wait to see yours!
Candy
Thanks for a great tutorial, the trays are wonderful! Now I have to find a set of trays I love how these nest together. Have a great day! Candy
Diana / Dreams Factory
Happy you like them, Candy!
Have fun creating :)
Rupa
This is such a fabulous set of trays. Thank you so much for the tutorial! Do you have recommendation for affordable water slide decal papers please? I don't see any mentioned in your fabulous post on water slide decal papers....thanks so much in advance!
Diana / Dreams Factory
Glad you like them, Rupa!
You can find here some of the products I use: http://www.bydreamsfactory.com/products-i-use.
Hope this helps.
Nydia
These are really beautiful.
Diana / Dreams Factory
Thank you, Nydia!
Cat
These are so cute! I'm going to have to keep an eye out for some trays at the thrift store now. Thanks for sharing how you made them!
Diana / Dreams Factory
Happy you like my new French trays, Cat!
Fingers crossed for finding some to decorate yourself :)
Amy @ StowandTellU
These are just gorgeous and I love that they have interchangeable signage. Great tutorial on how you made this. That chalky paint color works so well with the french graphics!!
Diana / Dreams Factory
Thank you so much, Amy! I love the idea of having multiple options.
I agree, the color complements the French graphics ... or vice-versa :)
Katherines Corner
♥love these! They are beautiful. Thank you for sharing at the Thursday Favorite Things blog hop link party. I featured your craftiness today, pinned xo
Diana / Dreams Factory
Thank you for stopping by and for featuring my French trays!
And for pinning, I really appreciate it! :)
Have a lovely day ~
Colleen
These are really pretty! Thank you for sharing!
Diana / Dreams Factory
Thanks for stopping by, Colleen!
Sherry Nappa
These came out great! I love the transformation. I downloaded your printables, too. Thanks for sharing.
Diana / Dreams Factory
Thank you so much, Sherry! Hope you will give them a try! :)
Tania
These are so pretty! I haven't tried this transfer method yet but it sure looks easy, I'm going to have to try it!
Thanks for following me on Bloglovin'! I'm following you now too!
Diana / Dreams Factory
I hope you do, Tania! It's an easy method and you can do one million things with it! :)
Thanks for stopping by, have a lovely week-end!
mikal shone
wow this changeable french trays really adored me... keep sharing more ideas like this. thumbs up