
DIY Photography Background using wallpaper - perfect for photographing your DIY projects, but can also be used for product photography, food photography, portrait photography, even to create a more cohesive style on your Instagram, really anything that you can think of!
Hello, friends! I hope you are well and are keeping safe, no matter where you live! In our part of the world, I'm really happy that spring has finally decided to show some signs, everything is warming up and waking up to new beginnings. We are so blessed to have the opportunity to live in the countryside, near the city, so we are able to spend some time outside. It normally feels refreshing, but with everything going on right now, spending time in the sun feels like solid gold! If you have the opportunity of soaking a little bit of sunshine in, please do that, it really can do wonders for our well-being, sunlight has been a vital source of life and energy since forever. I don't know about you, but I actually noticed a difference lately on my overall mood, sunny days make me feel more energetic, happy, joyful and somehow at peace. A little bit of sun also helps to keep a positive mind - again, a gold mine for such troubled times!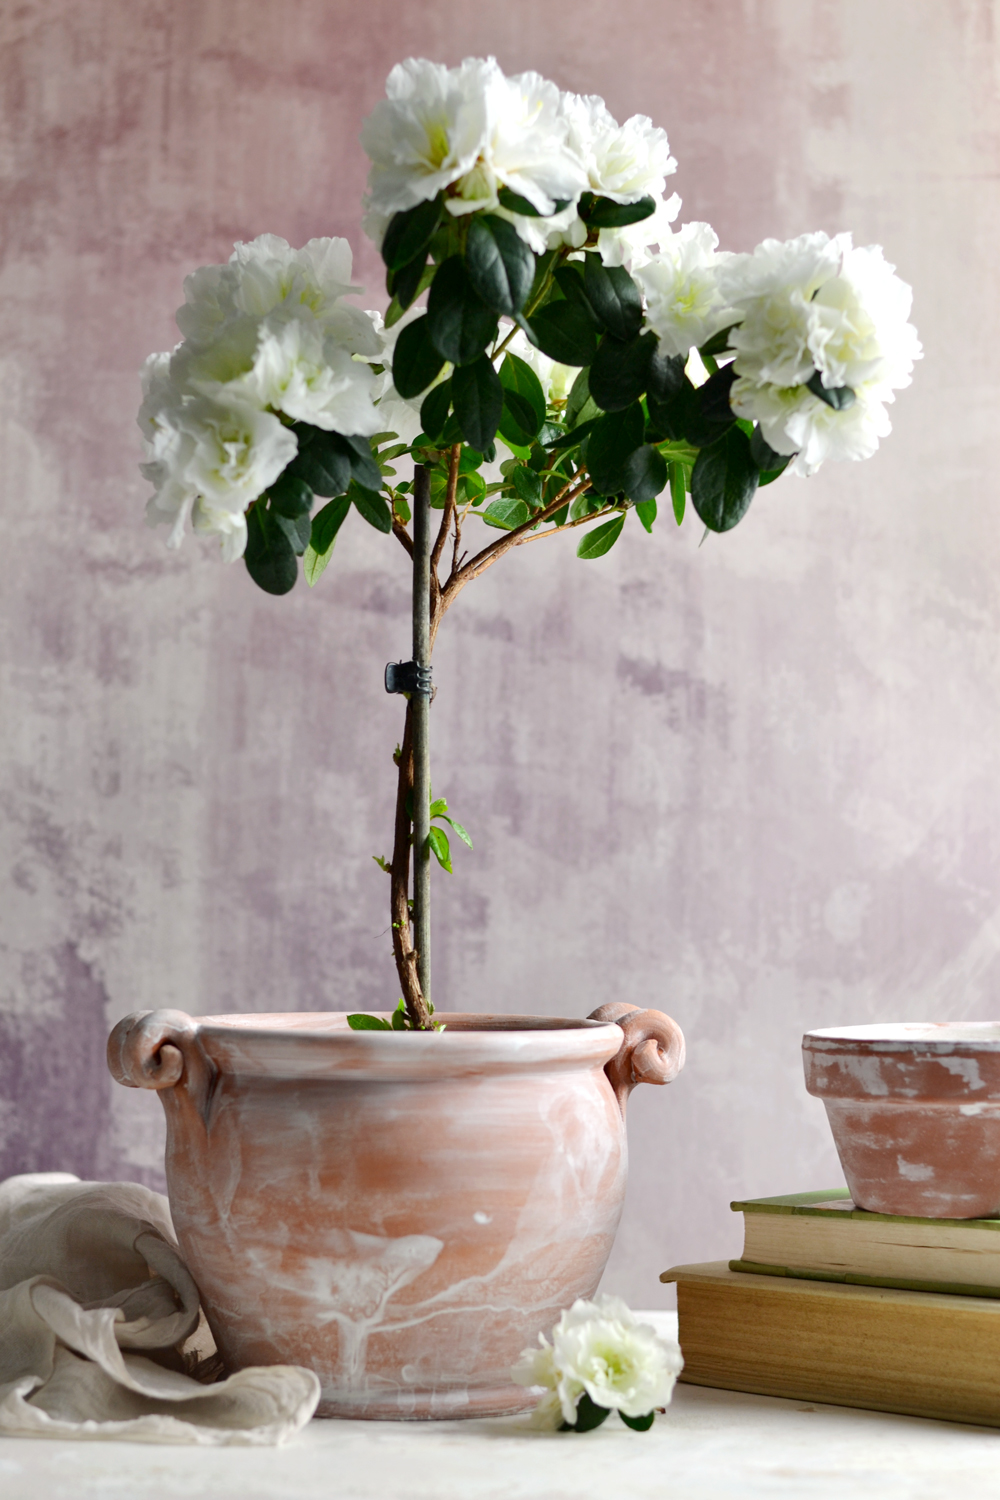
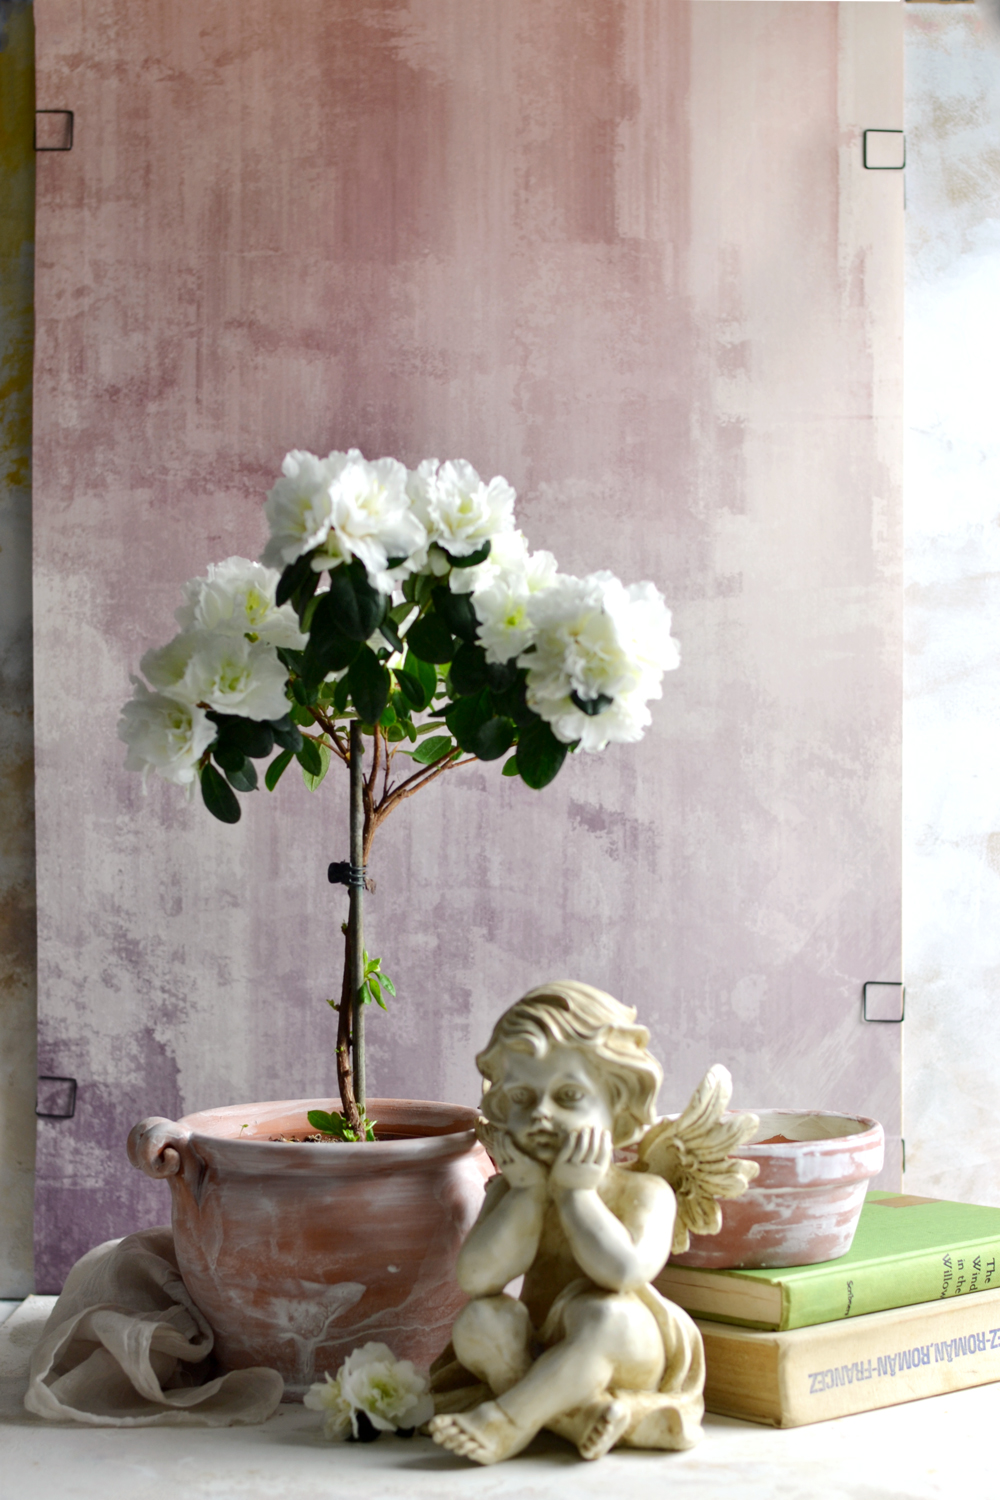
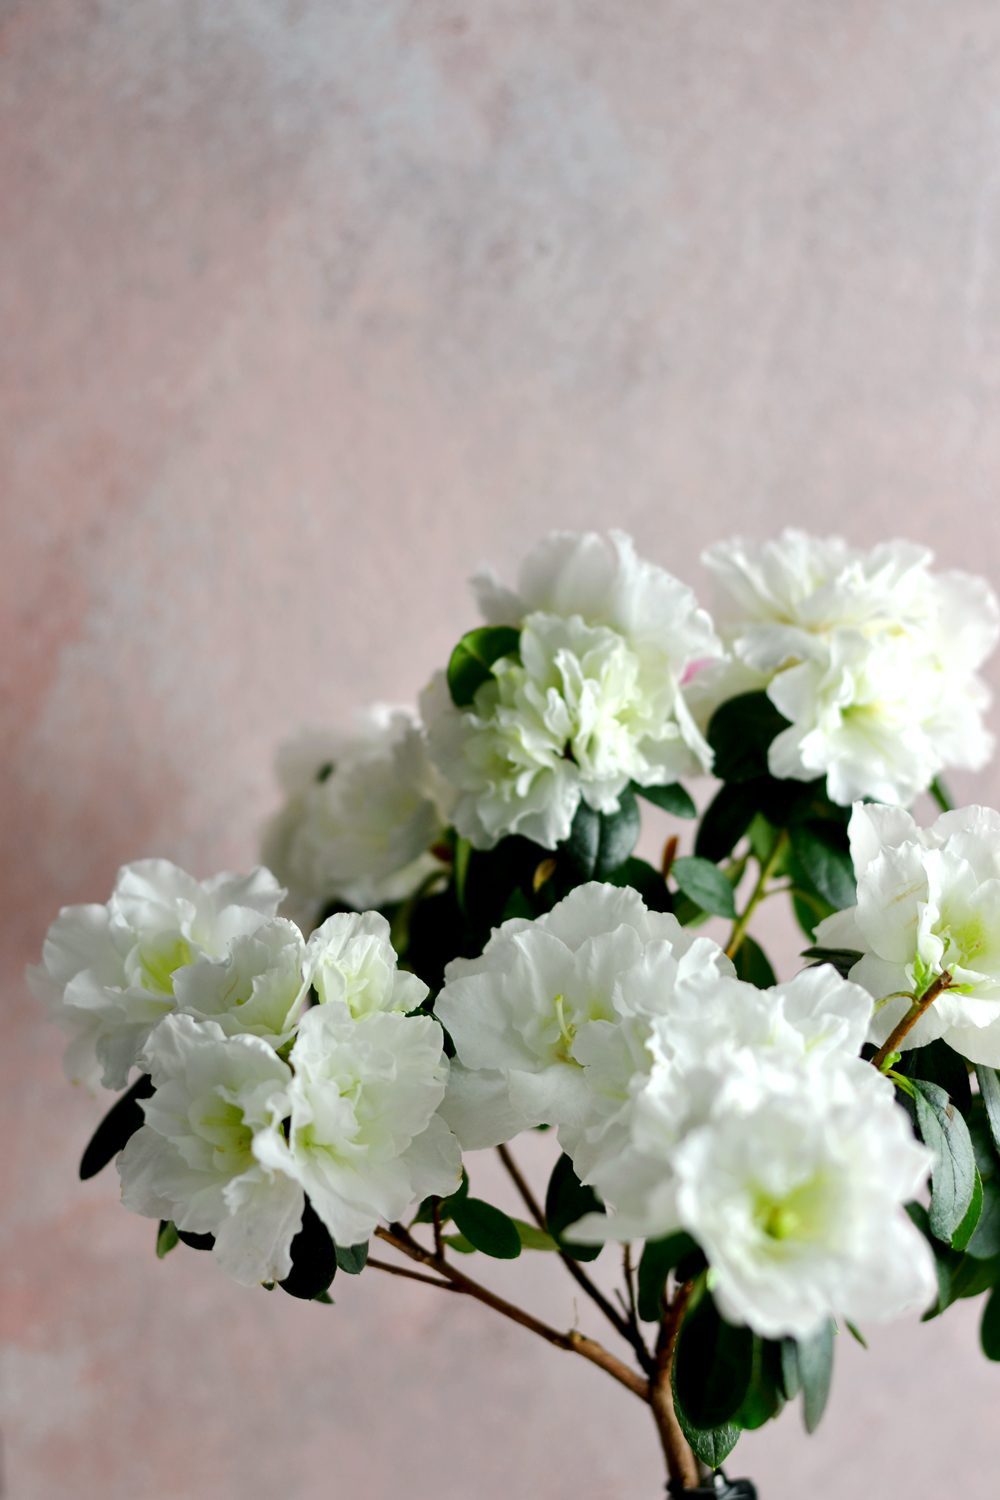
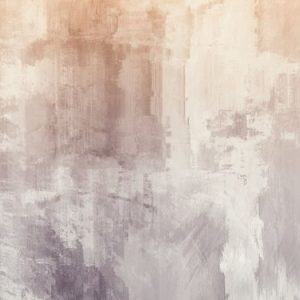
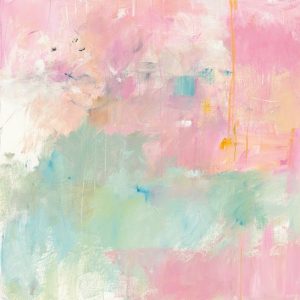
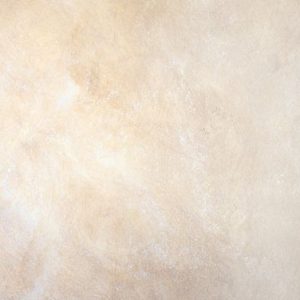
- Rough watercolors wallpaper -
Keeping busy is what I do best lately and today I have a special project to share with you! I'll show you how to make a DIY Photography Background using wallpaper! I also have a surprise for you! So keep reading! :)
Ever since I started my creative journey and began sharing my projects with you, I have been trying to get better and better at photography. It's really like a big learning curve but I have been soaking everything in - literally every tutorial I laid my hands on! :) Anything that could help me improve my skills because I just LOVE photography! I took a photography class a few years back, which helped me understand the basics better. But I feel like I've learned so much more just by practicing, trying new settings on my camera (switching from automatic to manual was a game changer), looking for online inspiration, photographing the same setup in different lighting, on different backgrounds. Making mistakes and learning from them was definitely the best teacher I could have ever asked for! :)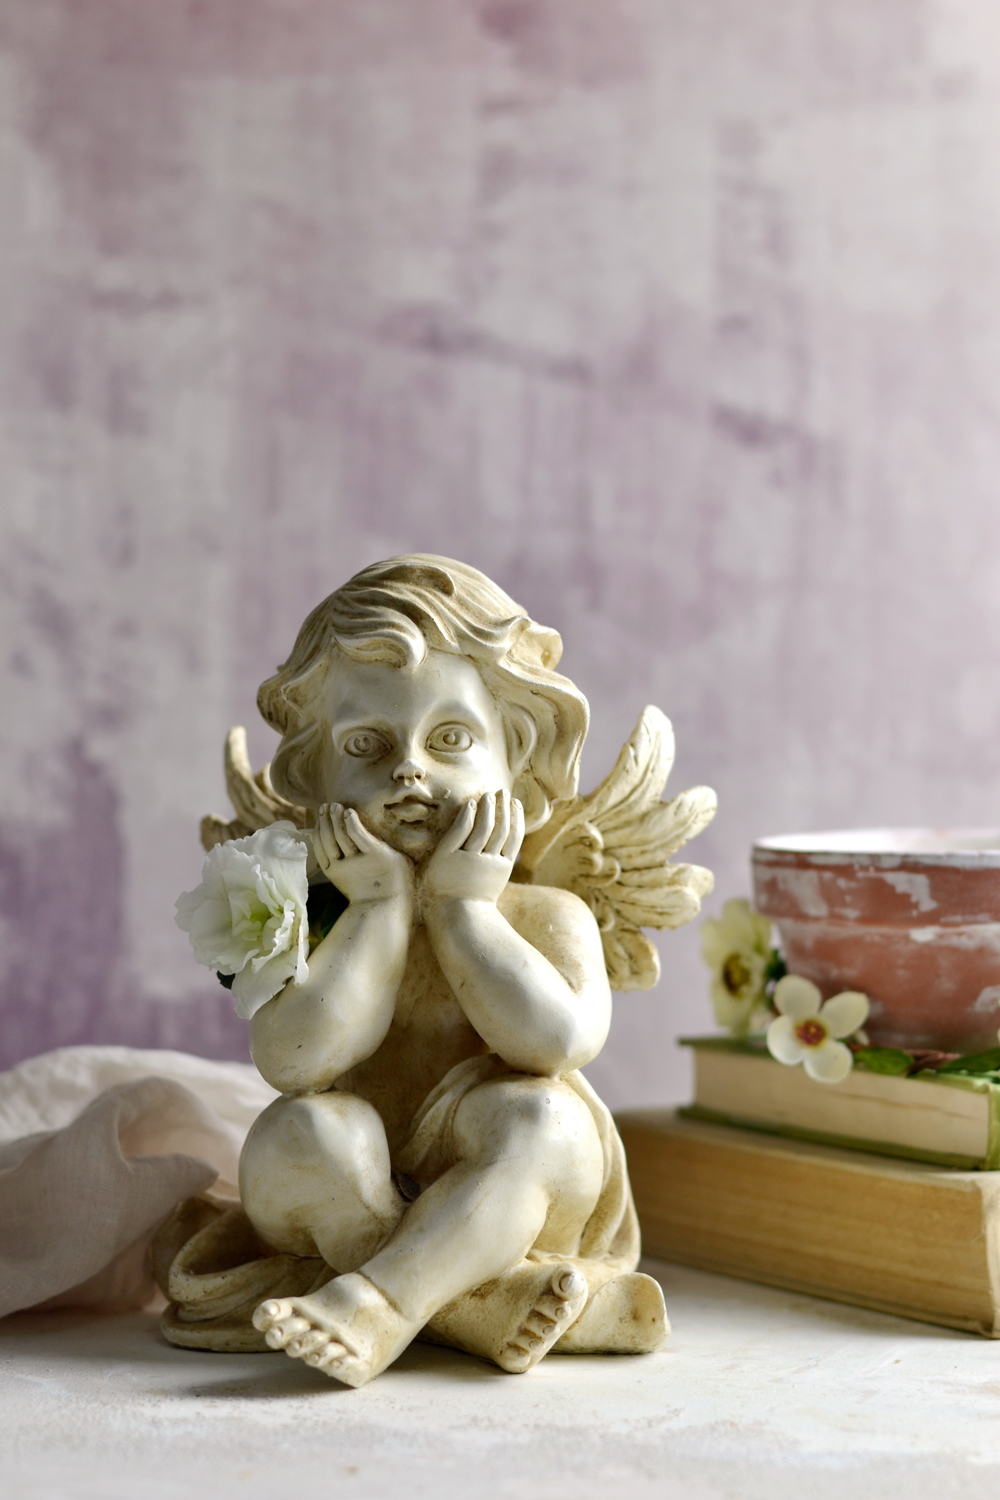
- Rough watercolors wallpaper -
I have been making my own DIY photography backgrounds mostly using white or neutral, soft, muted colors, because that's what I felt worked best for my style and my projects. But lately I've been passionate about abstract painting, watercolors, grunge walls, concrete walls, I think they could add so much character and interest to your photography! Anything that had a beautifully textured or an interesting surface seemed quite appealing to me and I've been saving on Pinterest lots of ideas I wanted to try someday! I still prefer the neutral colors but sometimes I surprise myself craving for a little bit of extra color! :)
And when the lovely people from Photowall approached me for a collaboration and I took a look on their website ... I almost couldn't believe my eyes! It's like they've read my mind, they had TONS of designs just like the ones I've been saving on my list-to-try-someday! I was in heaven! :) I said yes, of course, as I'm sure you have already guessed it by now! :)
 Photowall is a Swedish based company that ships their products all over the world! Their wall art collections include designer wallpapers, wall murals, canvas prints, framed prints and posters that are simply stunning! But here is a fair warning - if you take a look on their website, you might be hooked ... for hours and hours! :) You might find yourself spending way too much time looking for that perfect photography background, like I did! ;) But I'm pretty sure you'll find the one or the ones that you feel work best for you, that fit your personality or your photography style!
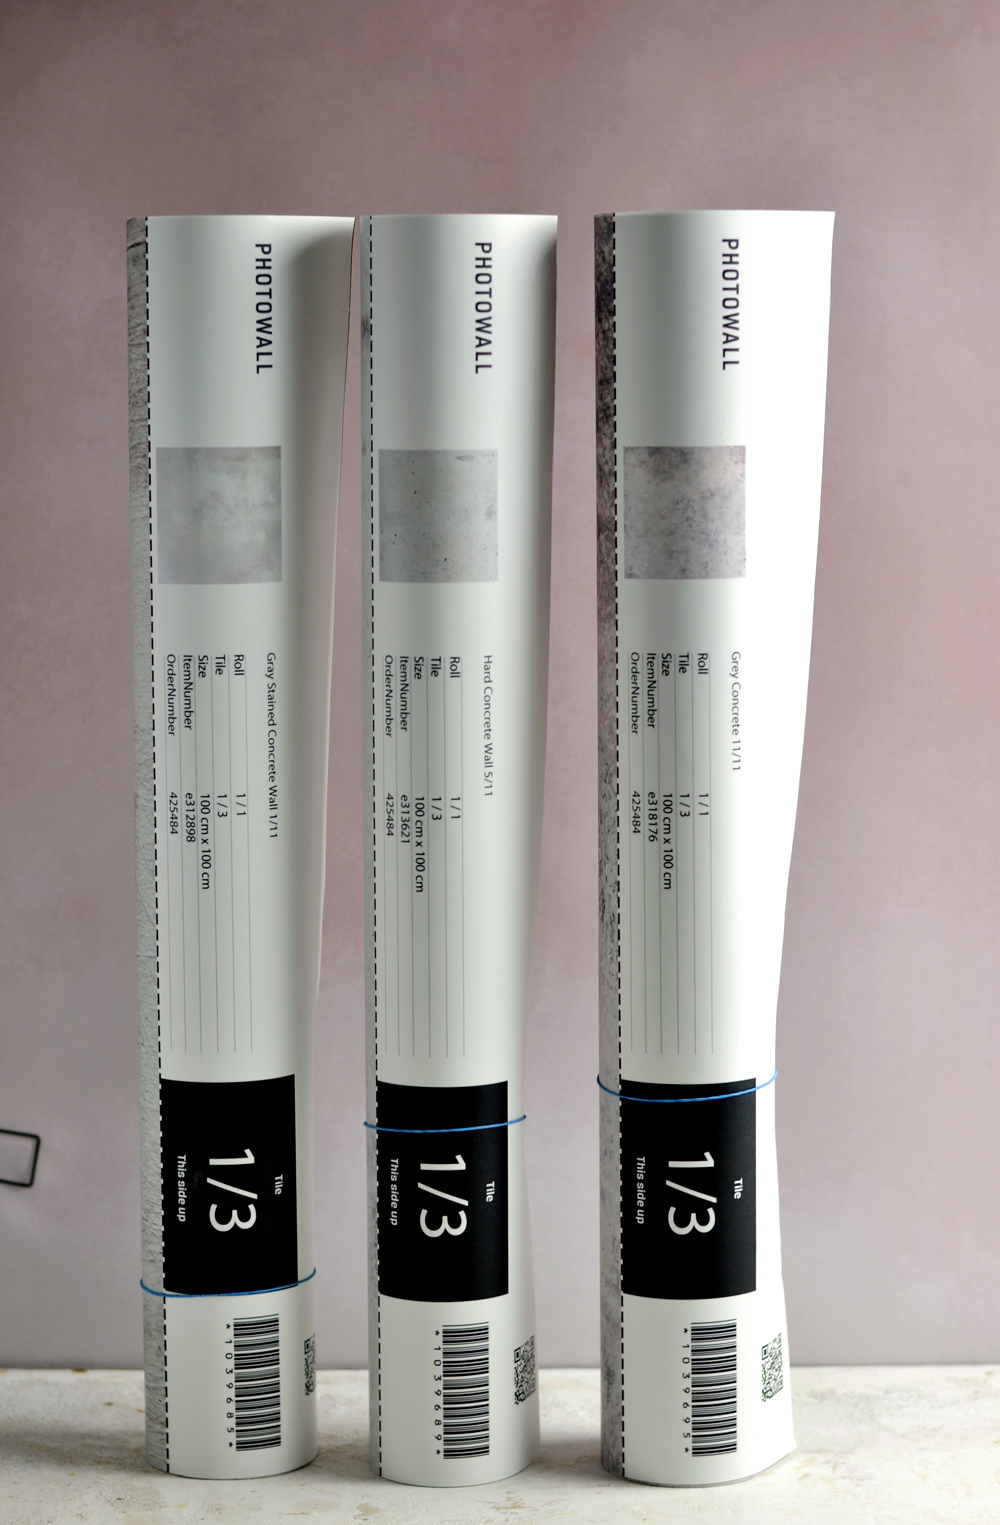
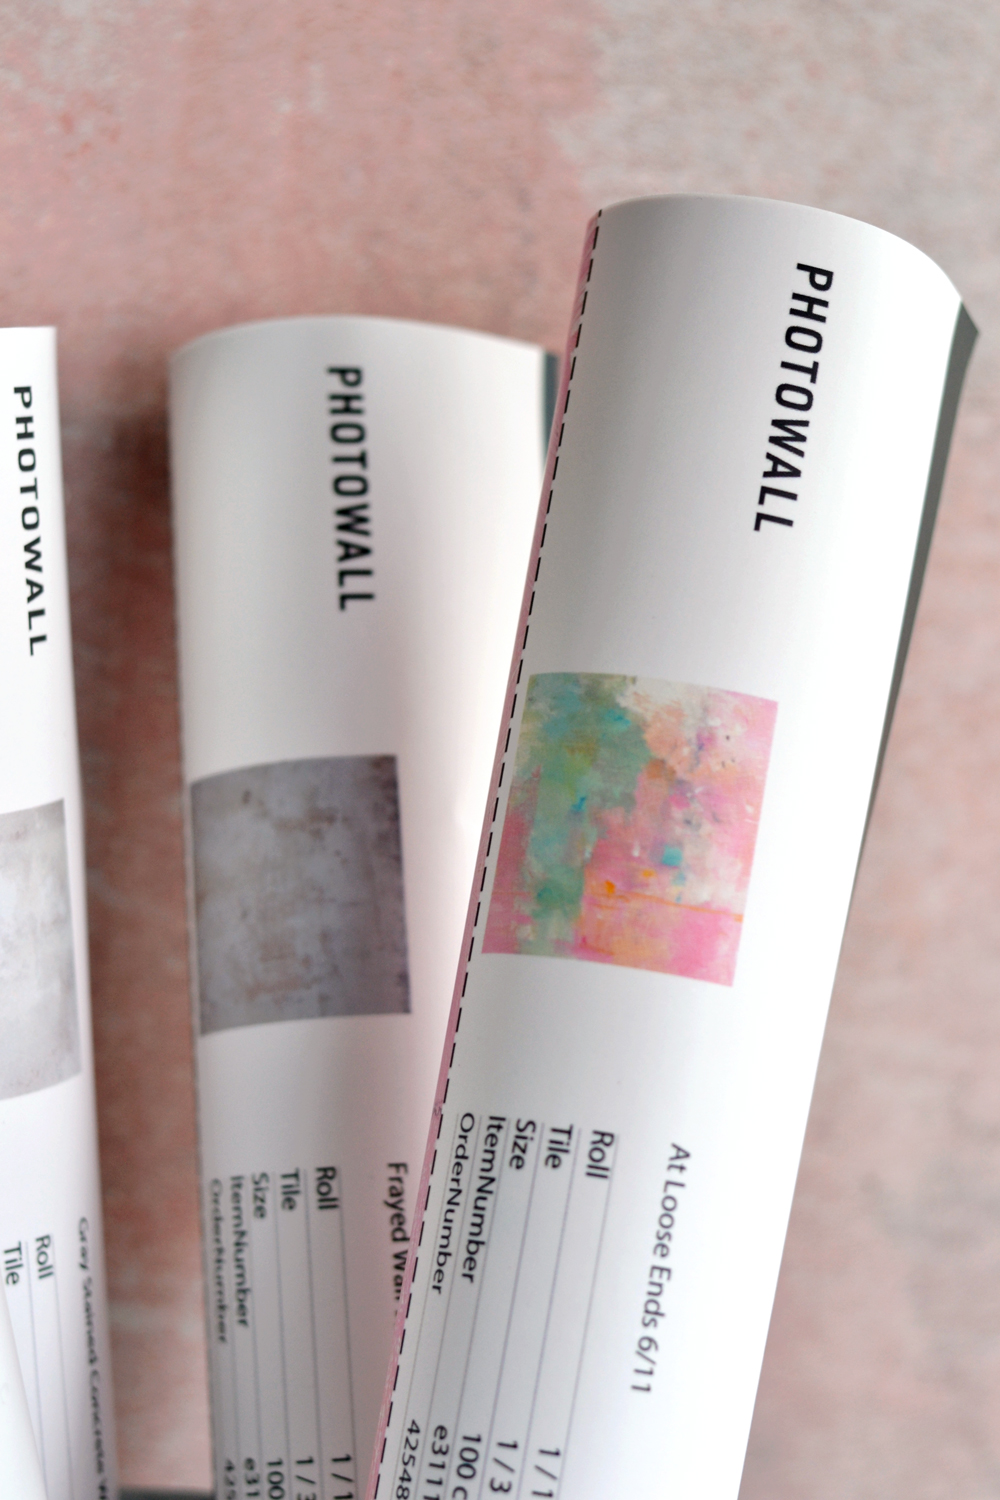
It was really easy to make the order once I (finally) decided what I wanted! You simply click on the wallpaper design that you love, add the size (in inches or cm), crop the motif if you want (to best fit your needs) and choose between the standard or premium quality. I choose the premium quality because they mentioned it was suitable for cleaning products, it was scrape resistant, anti-reflective and even had an extra matte finish - all good qualities any photography aficionado looks for! I was pleasantly surprised to receive the products in only 4 days! And when they all arrived in perfectly good shape (they were packed really well in individual boxes) ... I was like a child in a candy shop that was discovering new and new amazing flavors! Wallpapers in this case:)
The wallpapers come in numbered strips and each strip has a standard 45 cm size. For one background of 100 x 100 cm (that I thought was perfect for what I needed) I received 3 strips - measuring 45 x 100 cm, 45 x 100 cm and 10 x 100 cm. In the end I actually made a few smaller DIY photography backgrounds too, because I ran out of wood with all this stay inside craziness. But I'm choosing to see the half full part of the glass and I'm happy that now I have a few scrap pieces of wallpaper to play with on other DIY projects! :)

Depending on how you are planning on using your DIY Photography Background using wallpaper, you can choose the design you love and the size you need! The wallpapers are perfect for photographing your DIY projects, but can also be used for product photography, food photography, portrait photography, even to create a more cohesive style on your Instagram, really anything that you can think of.
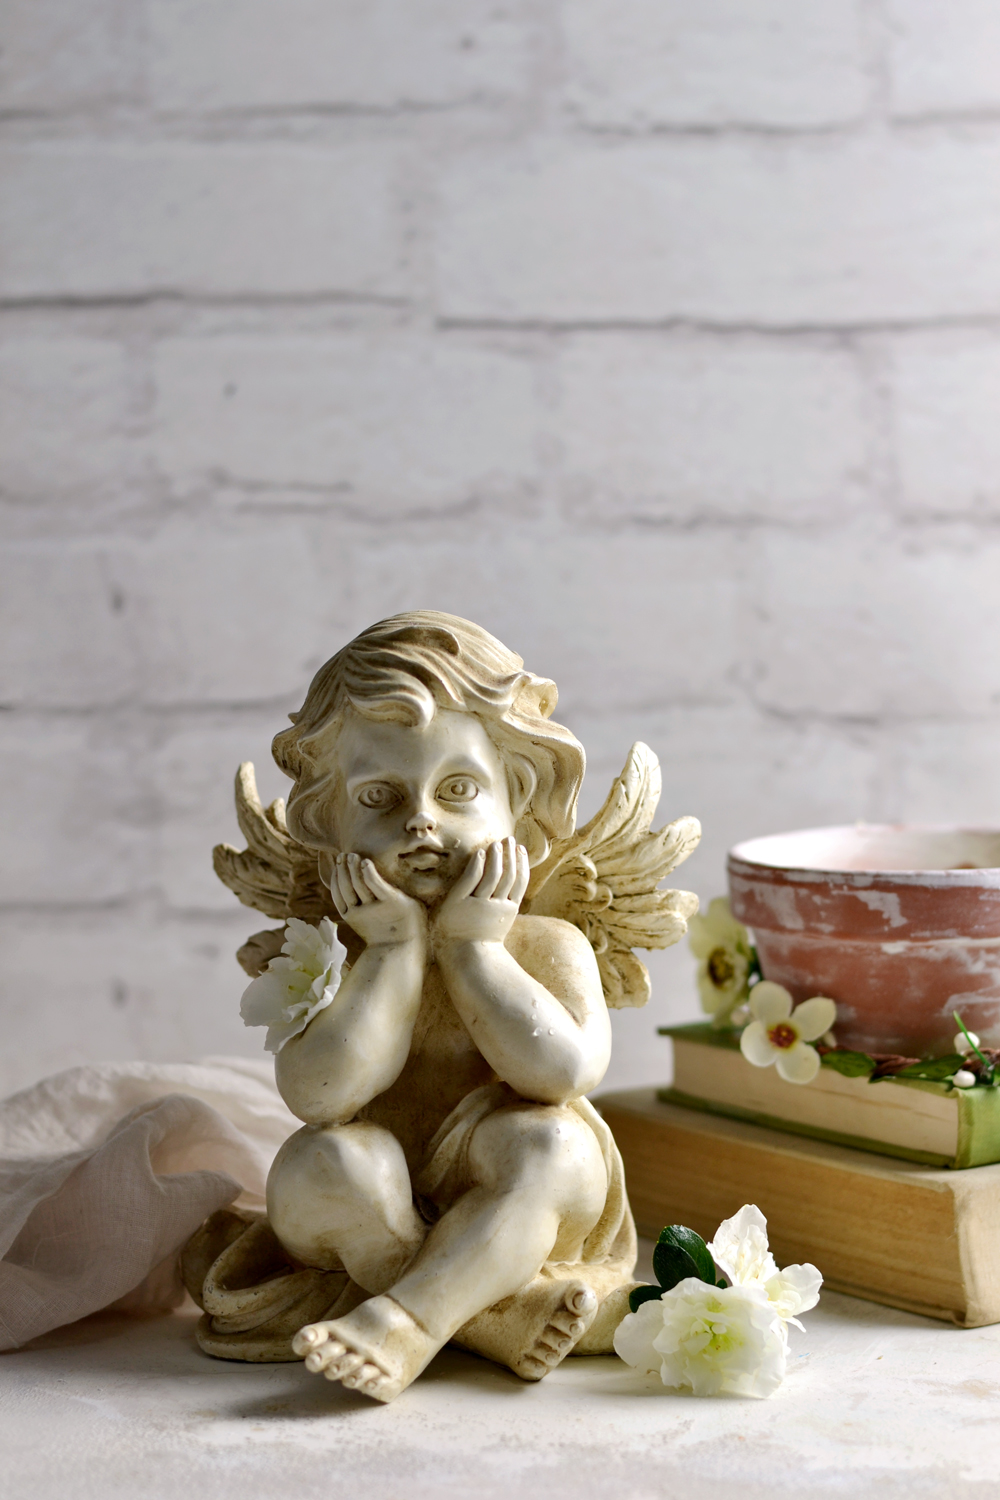
If you want to create your scene or shoot small(er) objects that would fit within the 45 cm width of one strip, you could use a 0.3 cm MDF board and some paper clips that would temporary hold the wallpaper on the board. You can see what I mean in the images below, I used some paper clips (I think they are from Ikea) to hold the wallpaper in place.

- Rough watercolors wallpaper -
- Rough watercolors wallpaper -
Below you can see other examples using basically the same objects, I just wanted to show you how a different background can create a different mood or feel.

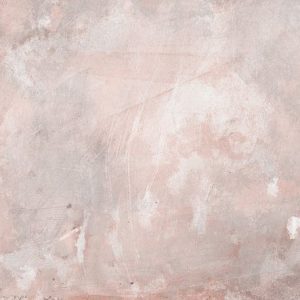
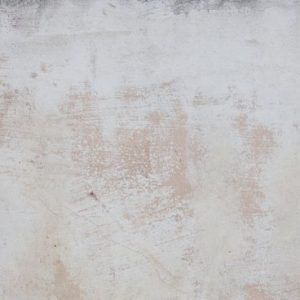
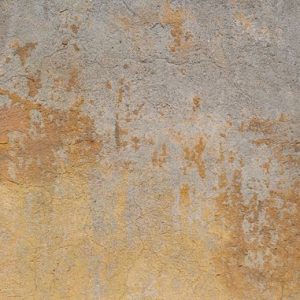
| Soft grunge stone wall wallpaper |
If you want to permanently adhere the wallpaper onto your MDF board (I tried that with a 0.3 cm and a 1,2 cm board), you can use the wallpaper powder adhesive that comes with each package. You will have to mix it with water to create a paste, but make sure you use it on a non absorbent surface because otherwise it won't work. The MDF boards worked perfectly, but when I tried adhering the wallpaper strips on a regular wood board, the wood board warped after a few hours and I'm guessing it absorbed all the paste, because the wallpaper came off quite easily. I was able to adhere those pieces on another MDF board afterwards with no problems.
HOW TO MAKE A DIY PHOTOGRAPHY BACKGROUND USING WALLPAPER
SUPPLIES
- wallpaper from Photowall
- wallpaper adhesive (included in package) + water and a plastic container to mix and store the wallpaper paste
- a brush
- a wooden stick for mixing
- old credit card to remove air bubbles
- MDF board
- scissors
- a pencil
1. Gather all your supplies.
2. Depending on the final size you ordered, you will have 1 or several strips of wallpaper. I had 3 pieces.
3. Place the first strip on your board (always start from the left side of your board) and use a pencil to trace a vertical line on the board. Do the same with all the other strips so you'll have pencil lines on the board and you'll know exactly where to place them.
4. The wallpaper adhesive package that comes with your wallpaper needs to be mixed with 4 liters (1 US gallon) of water. I imagined that would make quite a lot of wallpaper paste, but because I had no idea how the consistency of the paste would have to be, I eyeballed it and divided the package in approximately 4 parts, so I can only mix 1 part with 1 liter of water.
5. I used an old wooden chopstick to stir the paste until reaching a thick, pudding like consistency.
6-7. I brushed the wallpaper paste onto the first traced part of the board and a little over the vertical traced pencil line and I immediately applied the first 1/3 strip of wallpaper. I gradually added it following the left side of the board as my guiding line and used the palm of my hand to smooth the surface afterwards.
I then brushed the wallpaper paste on the next parts of the board and I applied the next wallpaper strips. The horizontal dotted lines from the top of your wallpaper will help you when applying the strips, just make sure they perfectly align outside of your board, so that your wallpaper design fits perfectly together on the board.
Use a credit card to remove any air bubbles and be careful if you have any adhesive spills on the surface of your wallpaper (especially on the seams), it might leave some unwanted stains on your board if not removed. If that happens, use a damp cloth to remove the excess before the paste dries completely.
8. Cut off the outside excess paper from the top of each strip and let your new DIY Photography Background dry completely before using it!

I have to tell you that one of my biggest concerns before starting the project was that the wallpaper strips won't perfectly fit together! I was afraid that the seams might be visible afterwards and would totally ruin the final board. But that was not the case! If properly align, the strips will create a complete cohesive final design, simply stunning for any type of photography!
Even for food photography, especially when paired with a perfect loaf of sourdough bread! :) Will share the recipe on my foodie blog soon!

I was REALLY happy with how my first board came out and I followed the same steps to make a few other boards! :)
The boards can be used as backgrounds ...

| Soft grunge stone wall wallpaper |
Or as backdrops for your beautiful photography experiments! :)
| Soft grunge stone wall wallpaper |
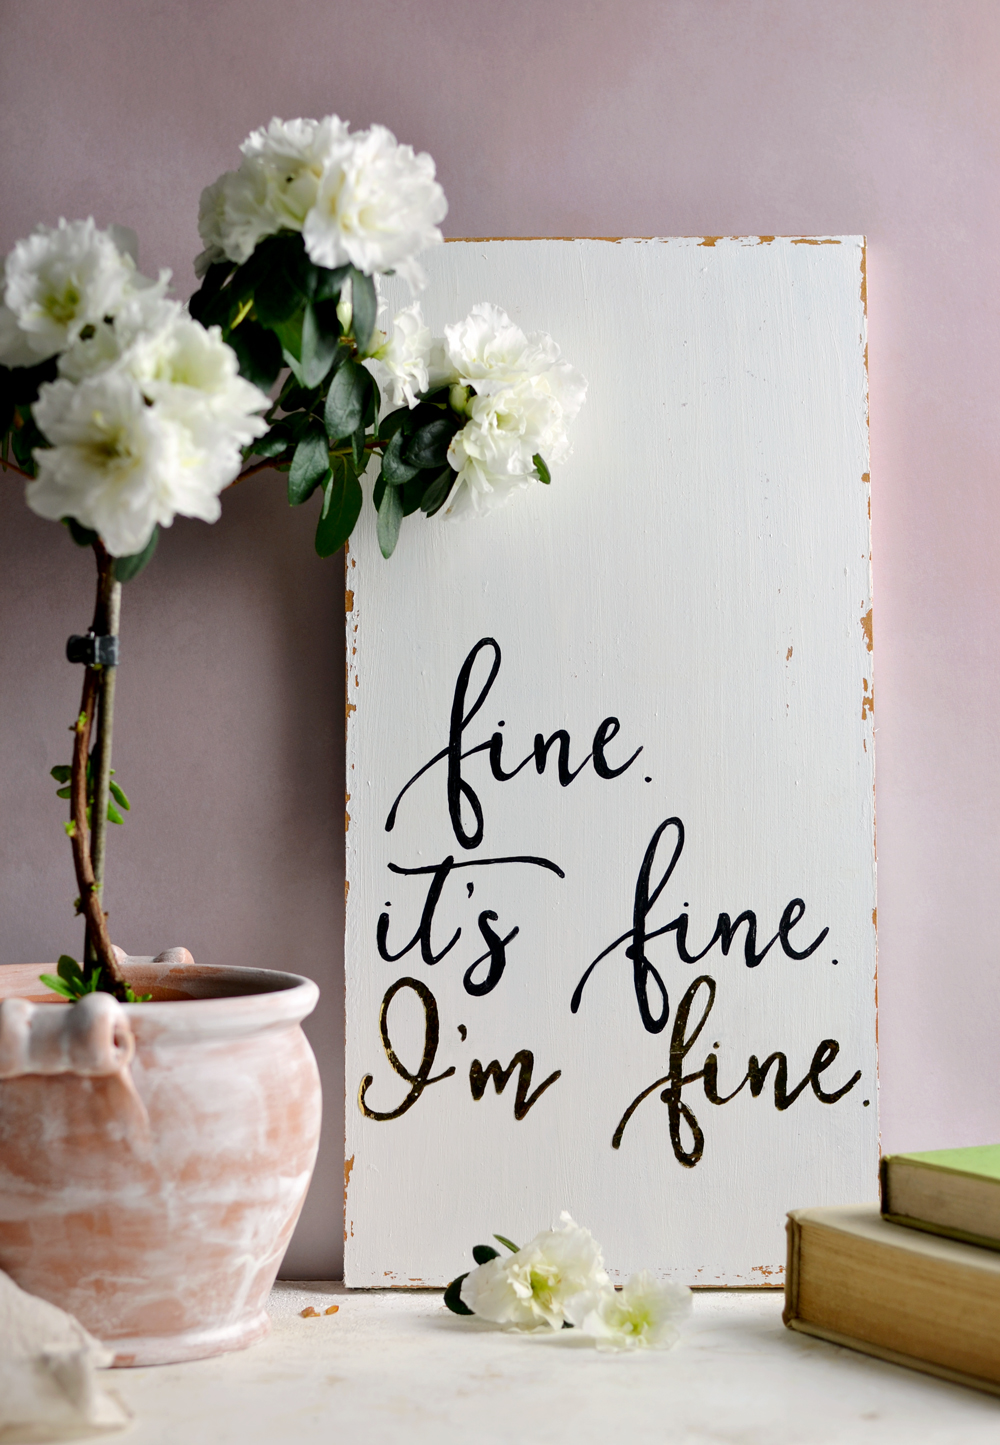
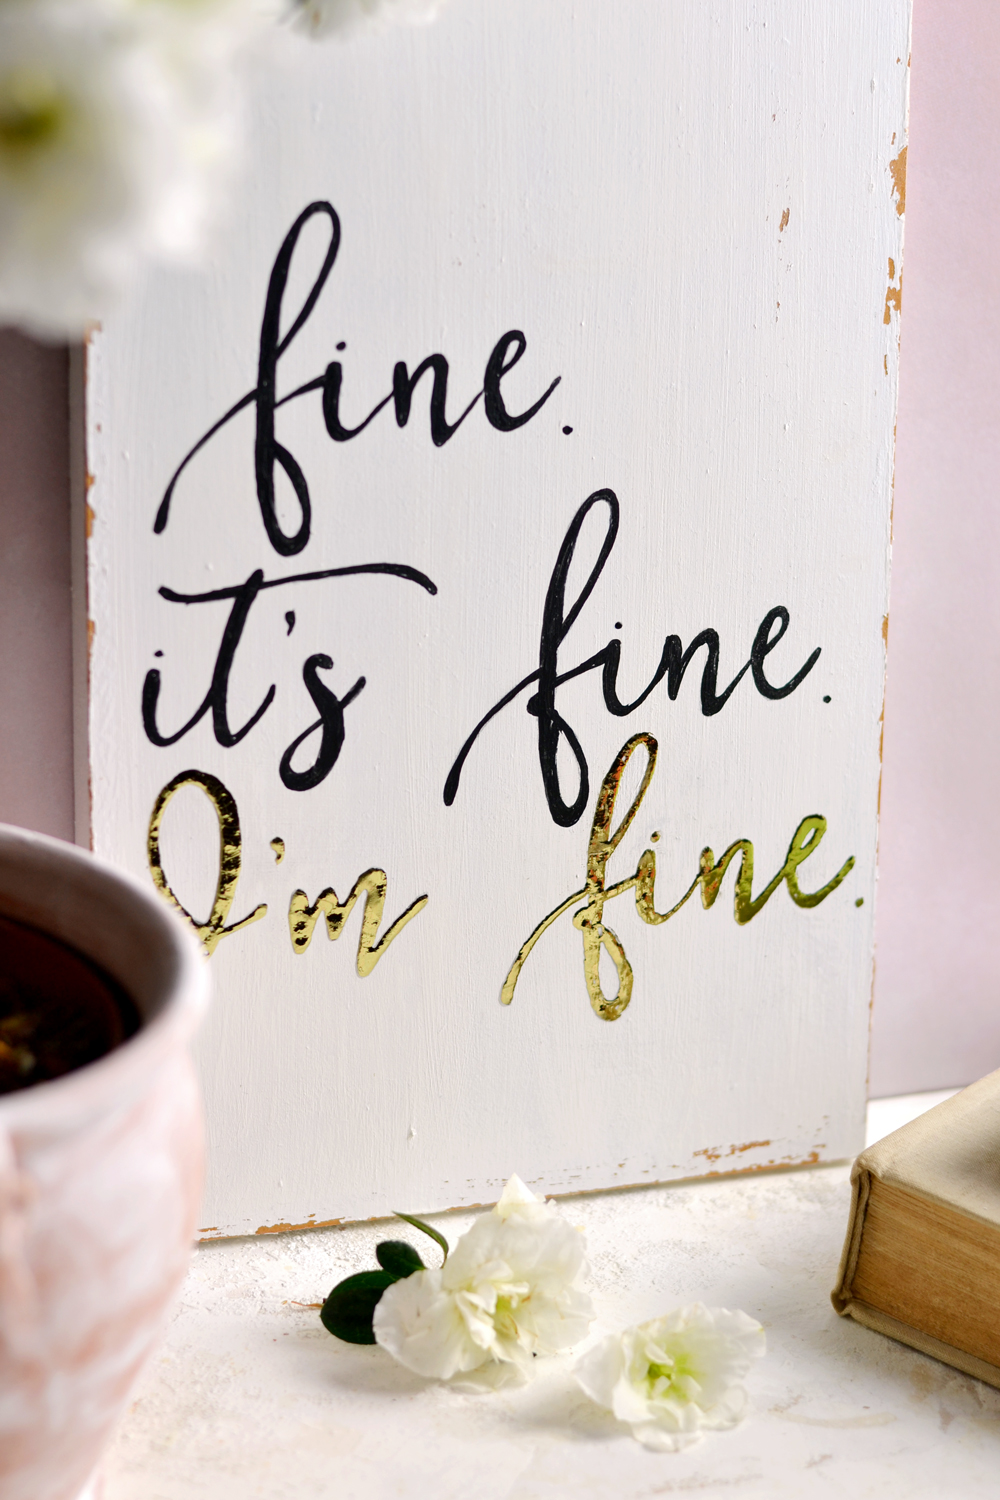
I love how each background manages to create a different feel, the one from below is a watercolor ombre wallpaper that I simply adore! I used it to photograph my new distressed, hand painted and gold foiled sign 'Fine. It's fine. I'm fine.', that I had started working on a few weeks ago ... not knowing the world would turn upside down and would need this saying more than ever!
P.S. The white washed terracotta pots that made an appearance in my photographs today are painted using one secret ingredient, I'l share the tutorial in a future post soon!
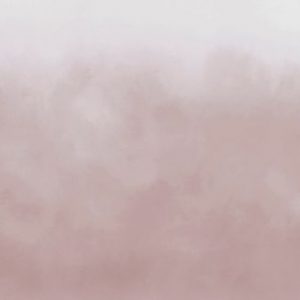
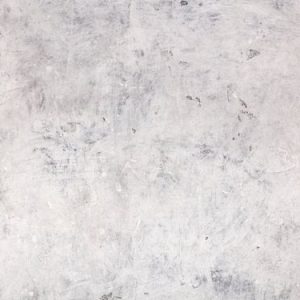
| Air morning mist wallpaper |
| Air morning mist wallpaper |
I'm sharing below all my favorite wallpapers that I absolutely adore and I'm also sharing my special surprise - a 25% discount code for you that will be available until April 30, 2020 on all your orders on (for US) and (for Europe)! Yuhuu! :)
Just use bydreamsfactory2021 after adding your products into your cart and you are -25% good to go! :)

| Rough watercolors wallpaper |Air morning mist wallpaper |
Soft grunge stone wall wallpaper |
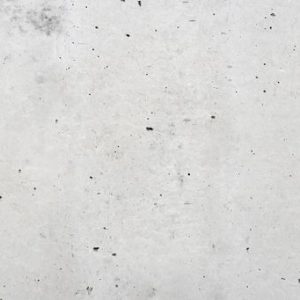
| At loose ends wallpaper | Grey concrete wallpaper | Frayed wall wallpaper |
Gray stained concrete wall wallpaper | Hard concrete wall wallpaper |
Soft frayed wall | | Antique stone wall wallpaper |
Before I go, I'm sharing with you one last amazing wallpaper from Photowall, one that would bring a smile on anyone's face, no matter how upset they are! :) 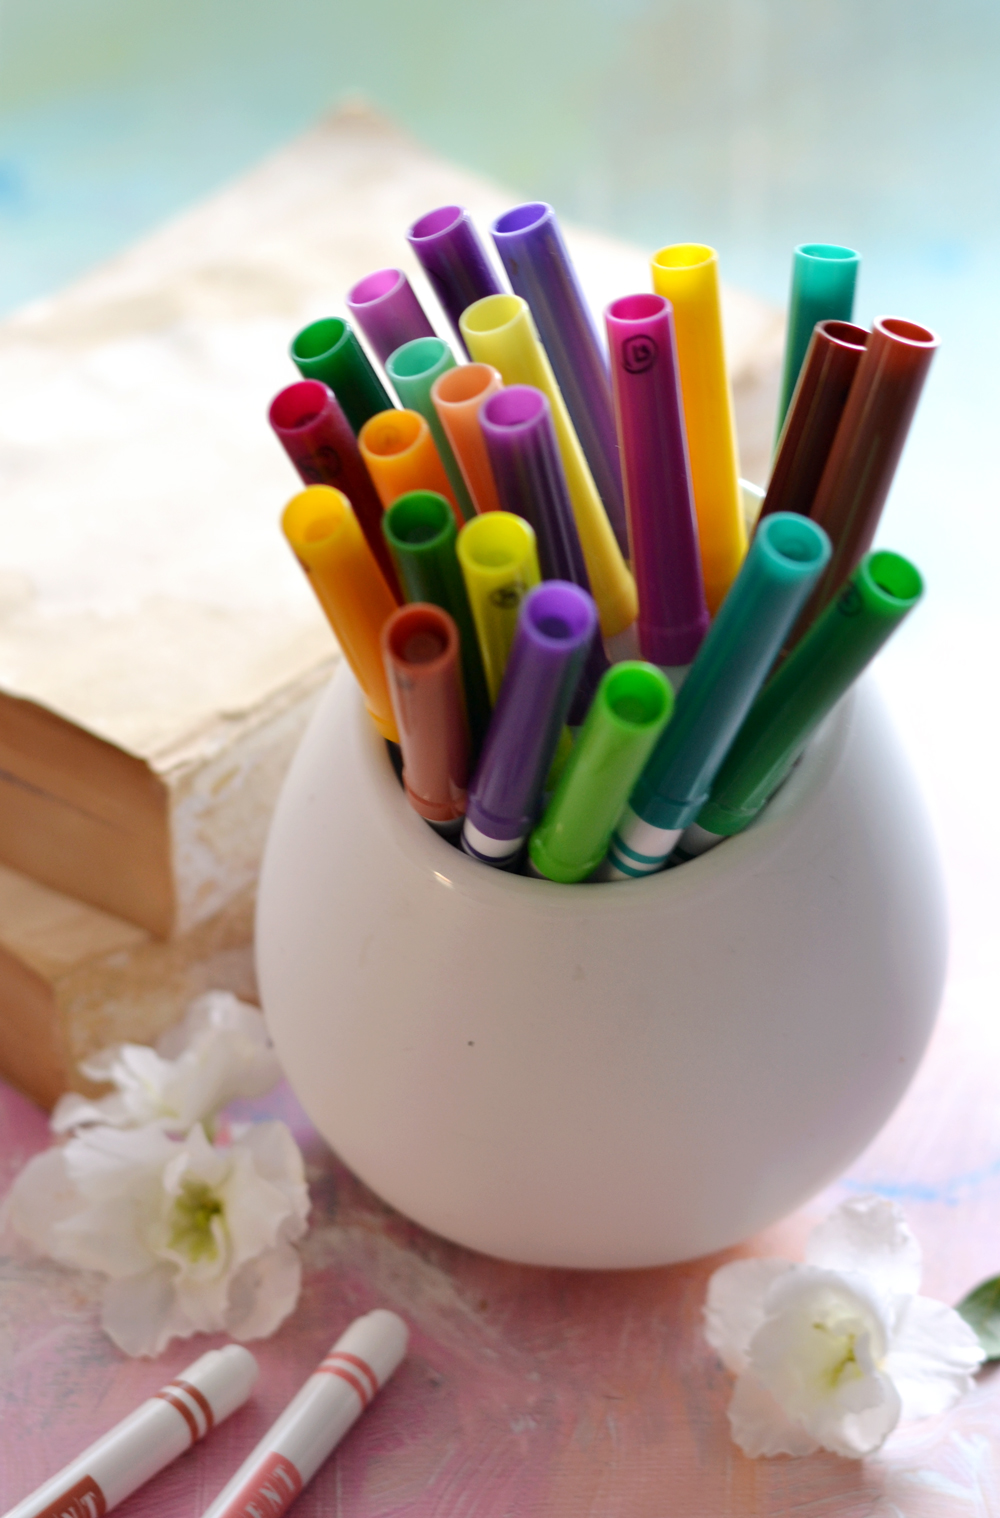
It's a really fun, vibrant, joyful and happy abstract painting design that would bring a pop of color into your photography and into your life! I haven't permanently added this one to a board, maybe I'll just frame it and hang it on my wall so I can see it and enjoy it all the time! :)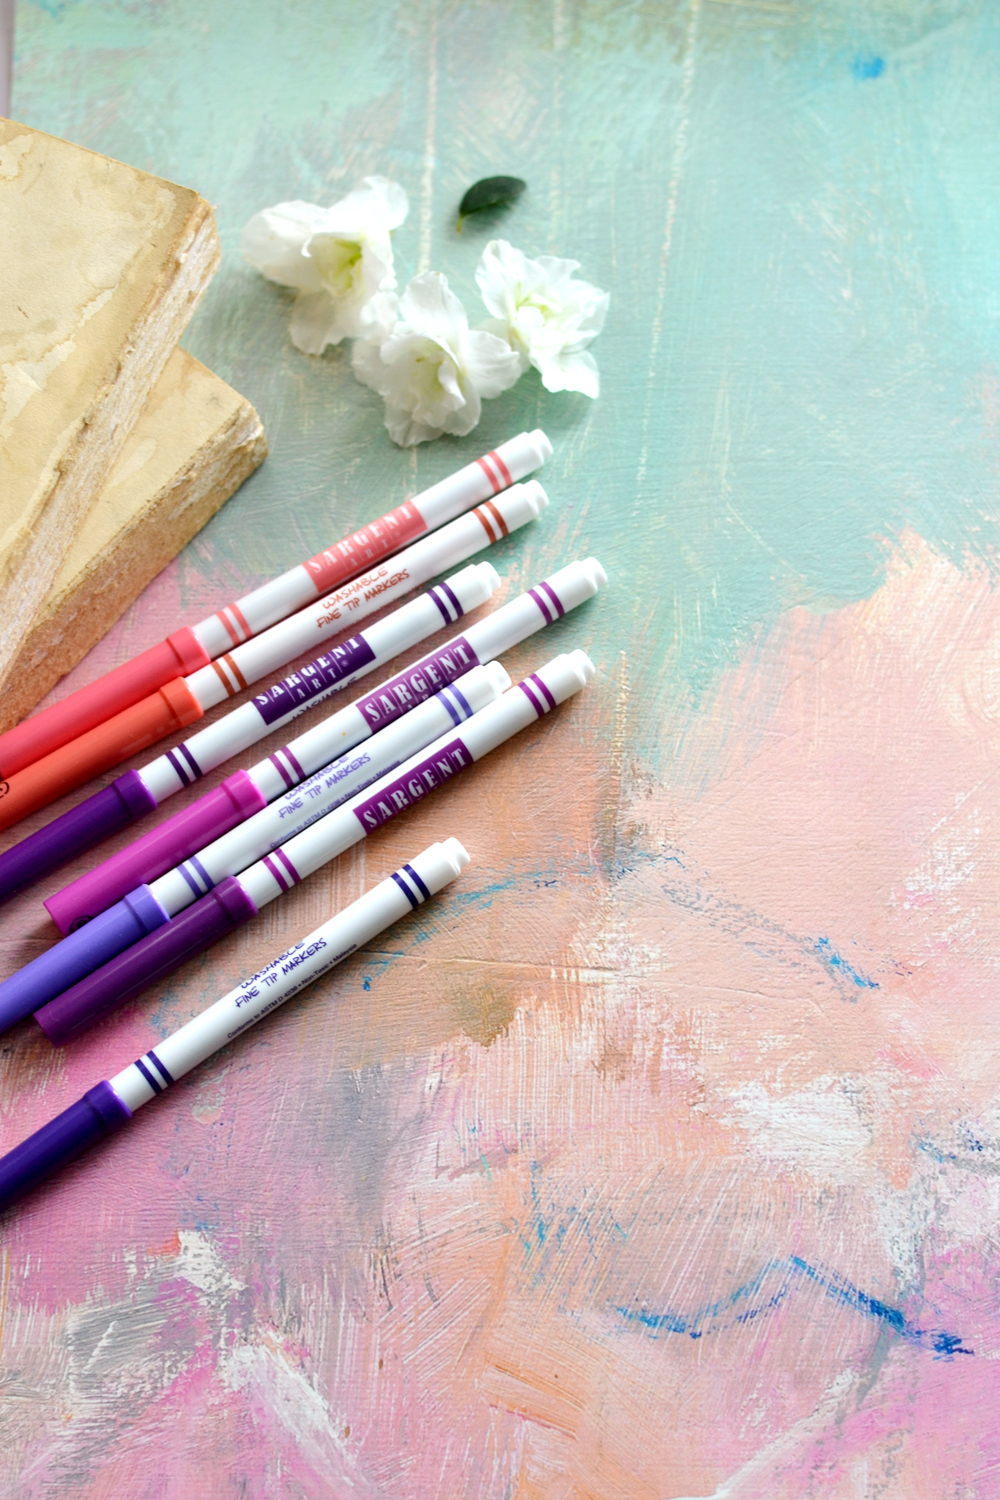

I'm really curious which of the beautiful wallpapers you love and you think would be a great fit for your style, just leave a comment below and let me know!
Stay safe and don't forget to smile! ♥
Diana
Jemma
Thanks for sharing these! I am def going to try and make my own after seeing how easy and fast it actually is.
Diana / Dreams Factory
Happy you like them, Jemma!