
Learn how to easily make a no-glue folded envelope in different sizes, using any type of paper that you have around! It's perfect for organizing different small items around your home, because it can be easily folded, unfolded and folded again after using!
This is one of those projects that will simply be a life changer! :) Or at least it was for me, because I somehow got stuck with this technique and I find myself using it over and over again.
The technique itself it's pretty simple and straightforward as you will see. But I would say that the best part is definitely the fact that it can be applied to any type of paper, no matter the size! You won't need any glue for this method, only a few folding tricks and your no-glue folded envelope will be ready in no time. I'm actually naming this an envelope, for the lack of a better word, but it's really just a folded and tucked piece of paper! :)

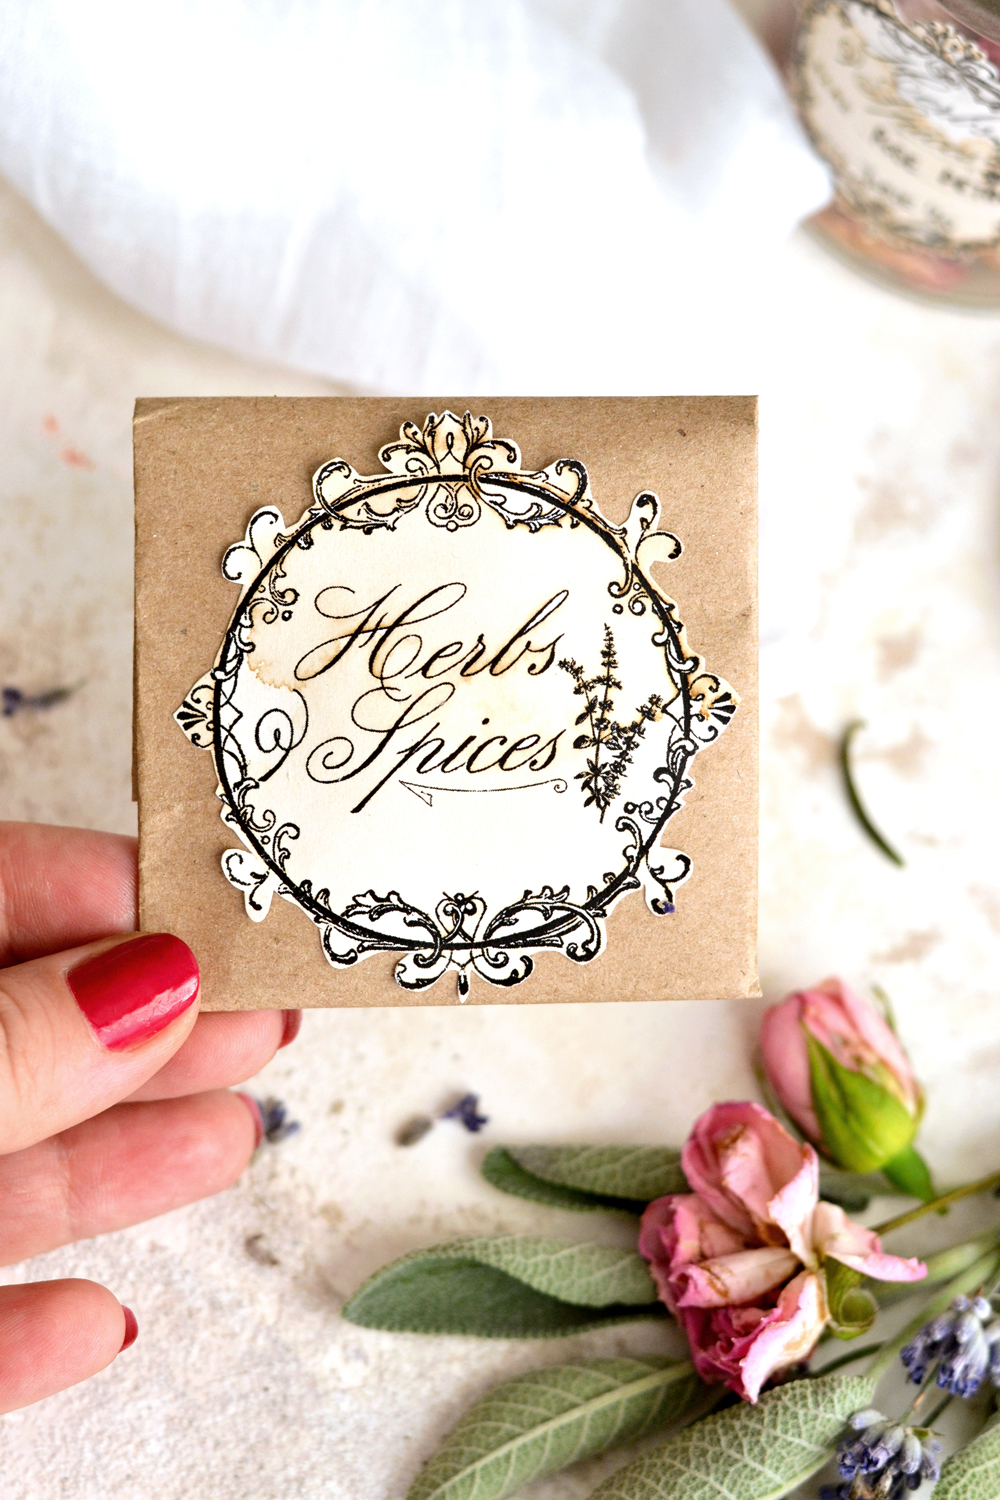
I actually thought about sharing this project with you while creating my DIY Herbs and Spices Apothecary Jars when I just found myself quickly folding a piece of kraft paper to store the labels for my jars. I'm pretty sure the labels would have been lost otherwise in the Parallel Universe of Missing Labels if not properly stored like this ! :) I usually just can't find them when I need them! Not sure, but it might be the same case as with the Parallel Universe of Missing Socks! :)
This method of folding a paper would likely be something you've learned from your grandma, this technique was used in the good old days for sending letters or personal notes! The actual letter or note was folded like this and sealed with a wax seal to prevent curious people from snooping in. ;)
How to make a no-glue folded envelope
1. If you have a specific item that you need to store with this technique, it's best to place that object in the middle of a square or rectangular piece of paper.
2-3-4. Fold the paper horizontally and vertically around that object, making sure the folded parts have almost the same size as the object. You can measure everything if you want maybe even use a bone folder, but for a quick and easy fold, eye balling everything will work just fine! :)
5. Slightly ply and tuck one of the flaps into the other flap.
6. Be gentle at this stage until the flap completely slides in, then use your hand to better arrange the paper and level the whole assemble. That's it! :)
After making this truly magic no-glue folded envelope, you can easily unfold, get access to the item inside, then easily fold it again and again, as needed!

How to use a no-glue folded envelope
I love using this technique because let's face it, we all have soooo many things around our house that just need a little bit of organizing from time to time. A no-glue folded envelope like this can be perfect for storing different small items that would otherwise just get lost in a long forgotten corner.
You can use it directly in your art or junk journals, in your craft room to store and organize scrap pieces of paper, beads, lace, buttons, ephemera, stickers, labels, tags, envelopes, even why not, your embossing powder, the sky is the limit.
You can also use it in your kitchen to store different herbs or spices, but really, it's so universal and so adaptable that can be used everywhere around your home!
Adding a few dried lavender flowers or rose petals would also be a great idea, this way you could use it in your drawers to freshen linen or even your cloths.
And let's not forget it can also be added to embellish that lovely handmade gift that you prepared for someone you love! It would have to be more of a flat present for this to work, but make sure you slide a thoughtful letter or a personal note inside! Or just write on the paper you are planning on using, then fold it and turn it into an original no-glue folded letter envelope! :)

Hope you'll find this quick and easy idea useful!
Don't forget to smile,
Diana
~~~~~~~~~~~~~~~~~~~~~~~~~~~~ This post contains affiliate links so you can easily find the products I love.
See more of my favorites {HERE}.
~~~~~~~
Now you can also check my Amazon shop –>click here
for more DIY, home decor & kitchen essentials, healthy stuff and more shopping ideas,
Dreams Factory’s style!
~~~~~~~~~~~
Leave a Reply