
Hello, friends! Today I will be sharing with you a fun and super quick project - DIY Gold Nail Polish Vintage Keys Makeover! I wasn't even sure if I should post this project, because of how easy it is to actually make it, but I really hope you will love this idea!
We sometimes tend to overcomplicate things when it comes to our lives, in general, so I decided an uncomplicated project deserves a post on its own, just like the others! If it's uncomplicated it doesn't mean it's not beautiful, right? :)

It obviously all started with a bunch of keys that needed a makeover! :) These are just regular vintage key charms that can be included in different creative projects and can be found in craft stores or online (afflink). These vintage keys usually come in different metal colors and while you can definitely try to buy the specific color that you need, you could as well just buy what you find, then easily transform them as you wish! I usually prefer the later as you might have already suspected!

I love adding a few nail polish brush strokes in my projects every now and then and this time I used a beautiful metallic gold nail polish.
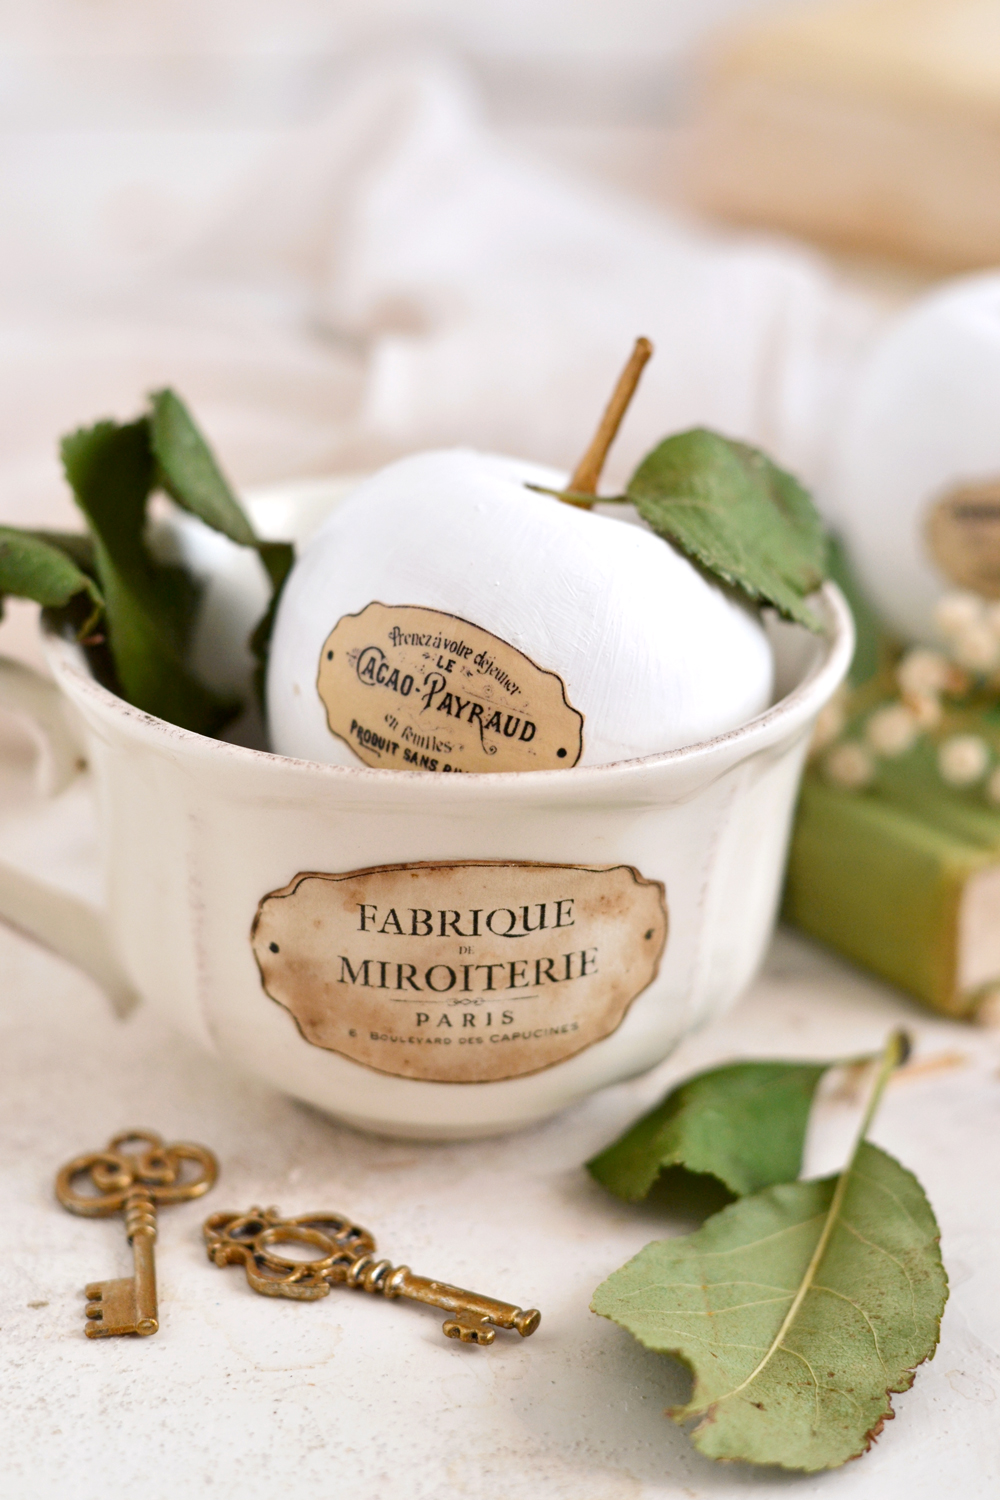
Exhibit 1 - I used gold nail polish to completely paint and cover in a metallic glare the stems of my DIY Faux Ceramic French Apples.
Exhibit 2 - I used red nail polish to paint the petals of my DIY Vintage French Poppy Tags.
Exhibit 3 - I used nail polish to paint my nails to match my DIY Vintage Christmas Postage Stamps. Ok, that doesn't really count, but sometimes you just have to have your nails match your projects! :)

The process itself is really easy, you just paint the keys just like you would normally paint your nails! :) To make things mess free, I kept one key between my fingers and painted it halfway through, then I placed it on a sheet of acetate until drying. I did the same with all the keys, only painting the first half, then after drying, I painted the other half.
NOTE: It's really important to use a non absorbent surface to lay your vintage keys on, while drying. I used a small acetate sheet, but you can also use a teflon or a silicon mat, even a regular plastic bag. Don't use paper or paper towels, the nail polish might stick to those, creating unaesthetic marks on your keys.

After the top side has dried, I flipped the vintage keys over and follow the same steps on the back side. That's it, the makeover is now complete! :)

It's best not to use too much nail polish at once to prevent drippings, if you feel like your vintage keys could use another coat, just apply another one after drying. I didn't apply a full second coat on the whole surface, just a few touch ups here and there.
You can use the nail polish vintage keys in different ways afterwards, they can be easily included in your artwork.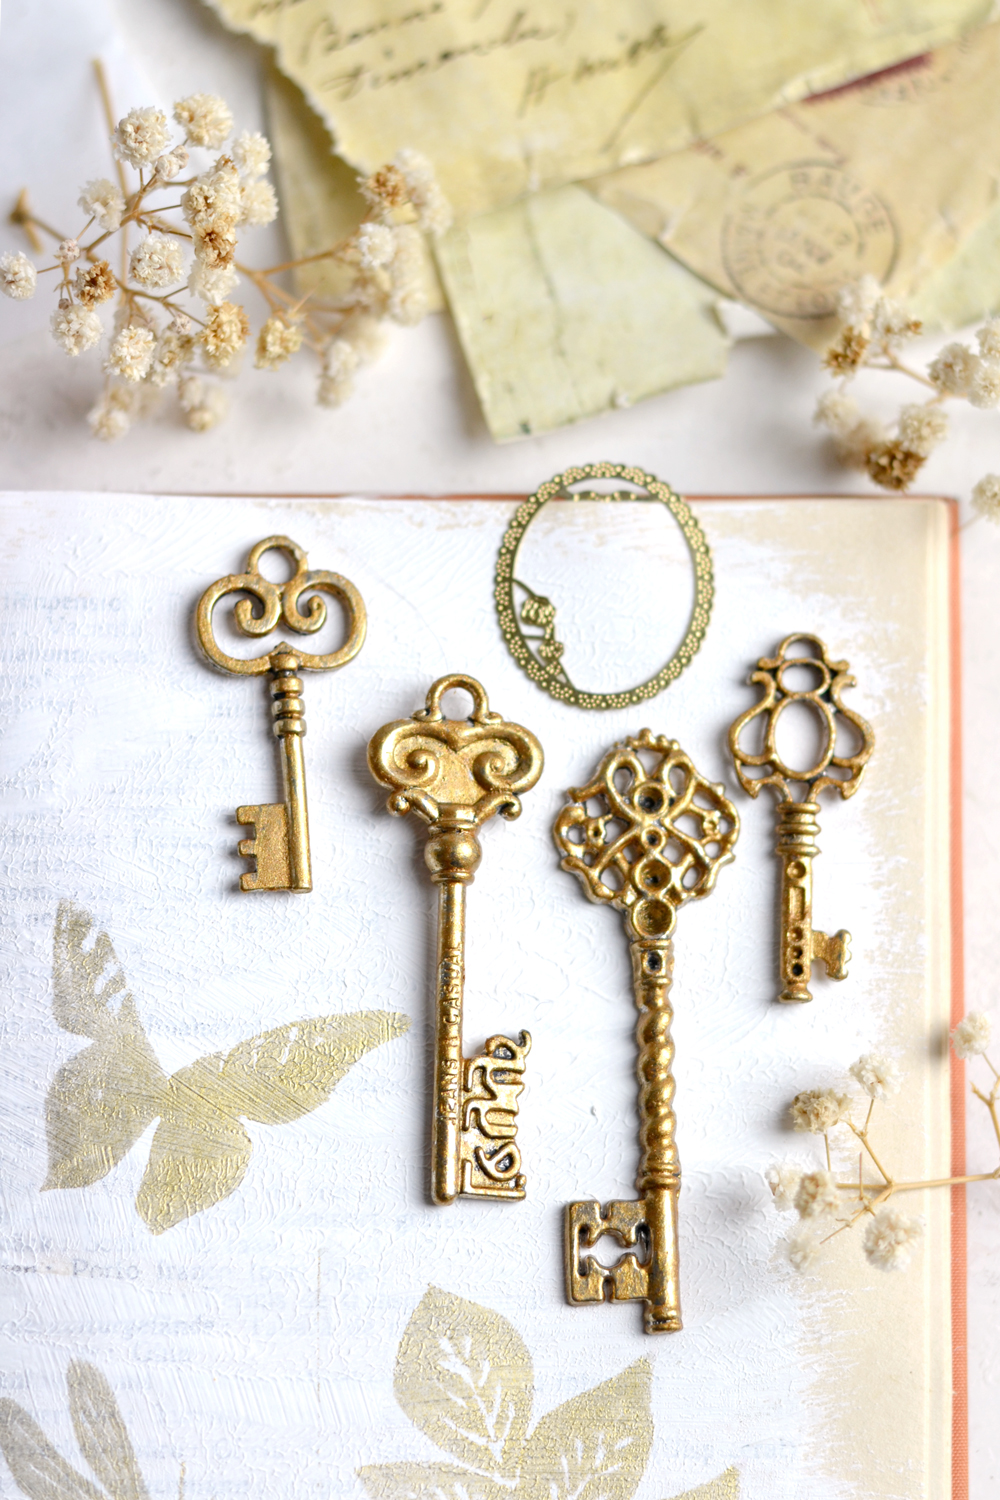
I could have used metallic acrylic paint for this or even white or other neutral acrylic paint colors. Chalkpaint would have also worked great to get a more matte finish, even a little bit of distressing.
But I really love the enamel like finish you usually get when using nail polish and I'm sure these will look good with other metallic nail polishes like bronze or copper too. Just use what you have!


vintage keys (similar)
metallic nail polish set (similar, get under my Christmas tree ASAP)
acetate sheet
You will probably see these beauties popping on my DIY projects images every once in a while, they create such lovely photography vintage props, don't you think?
I've already paired them with my DIY Antique French Ephemera Paper while photographing that project, I think they look so beautiful together!


And you might have already seen them together with my DIY Faux Ceramic French Apples. Another great combo, I would say! :)
Hope you love this quick and easy DIY Gold Nail Polish Vintage Keys makeover project, I'm really curious where would you use beautiful golden keys like these! :)
~~~~~~~~~~~~~~~~~~~~~~~~~~~~ This post contains affiliate links so you can easily find the products I love.
See more of my favorites {HERE}.
~~~~~~~
 Now you can also check my new Amazon shop –>click here
for more DIY, home decor & kitchen essentials, healthy stuff and more shopping ideas,
Dreams Factory’s style!
~~~~~~~~~~~
Leave a Reply